Volumetric Lighting
August 3rd, 2025
Unreleased Project
Motivation
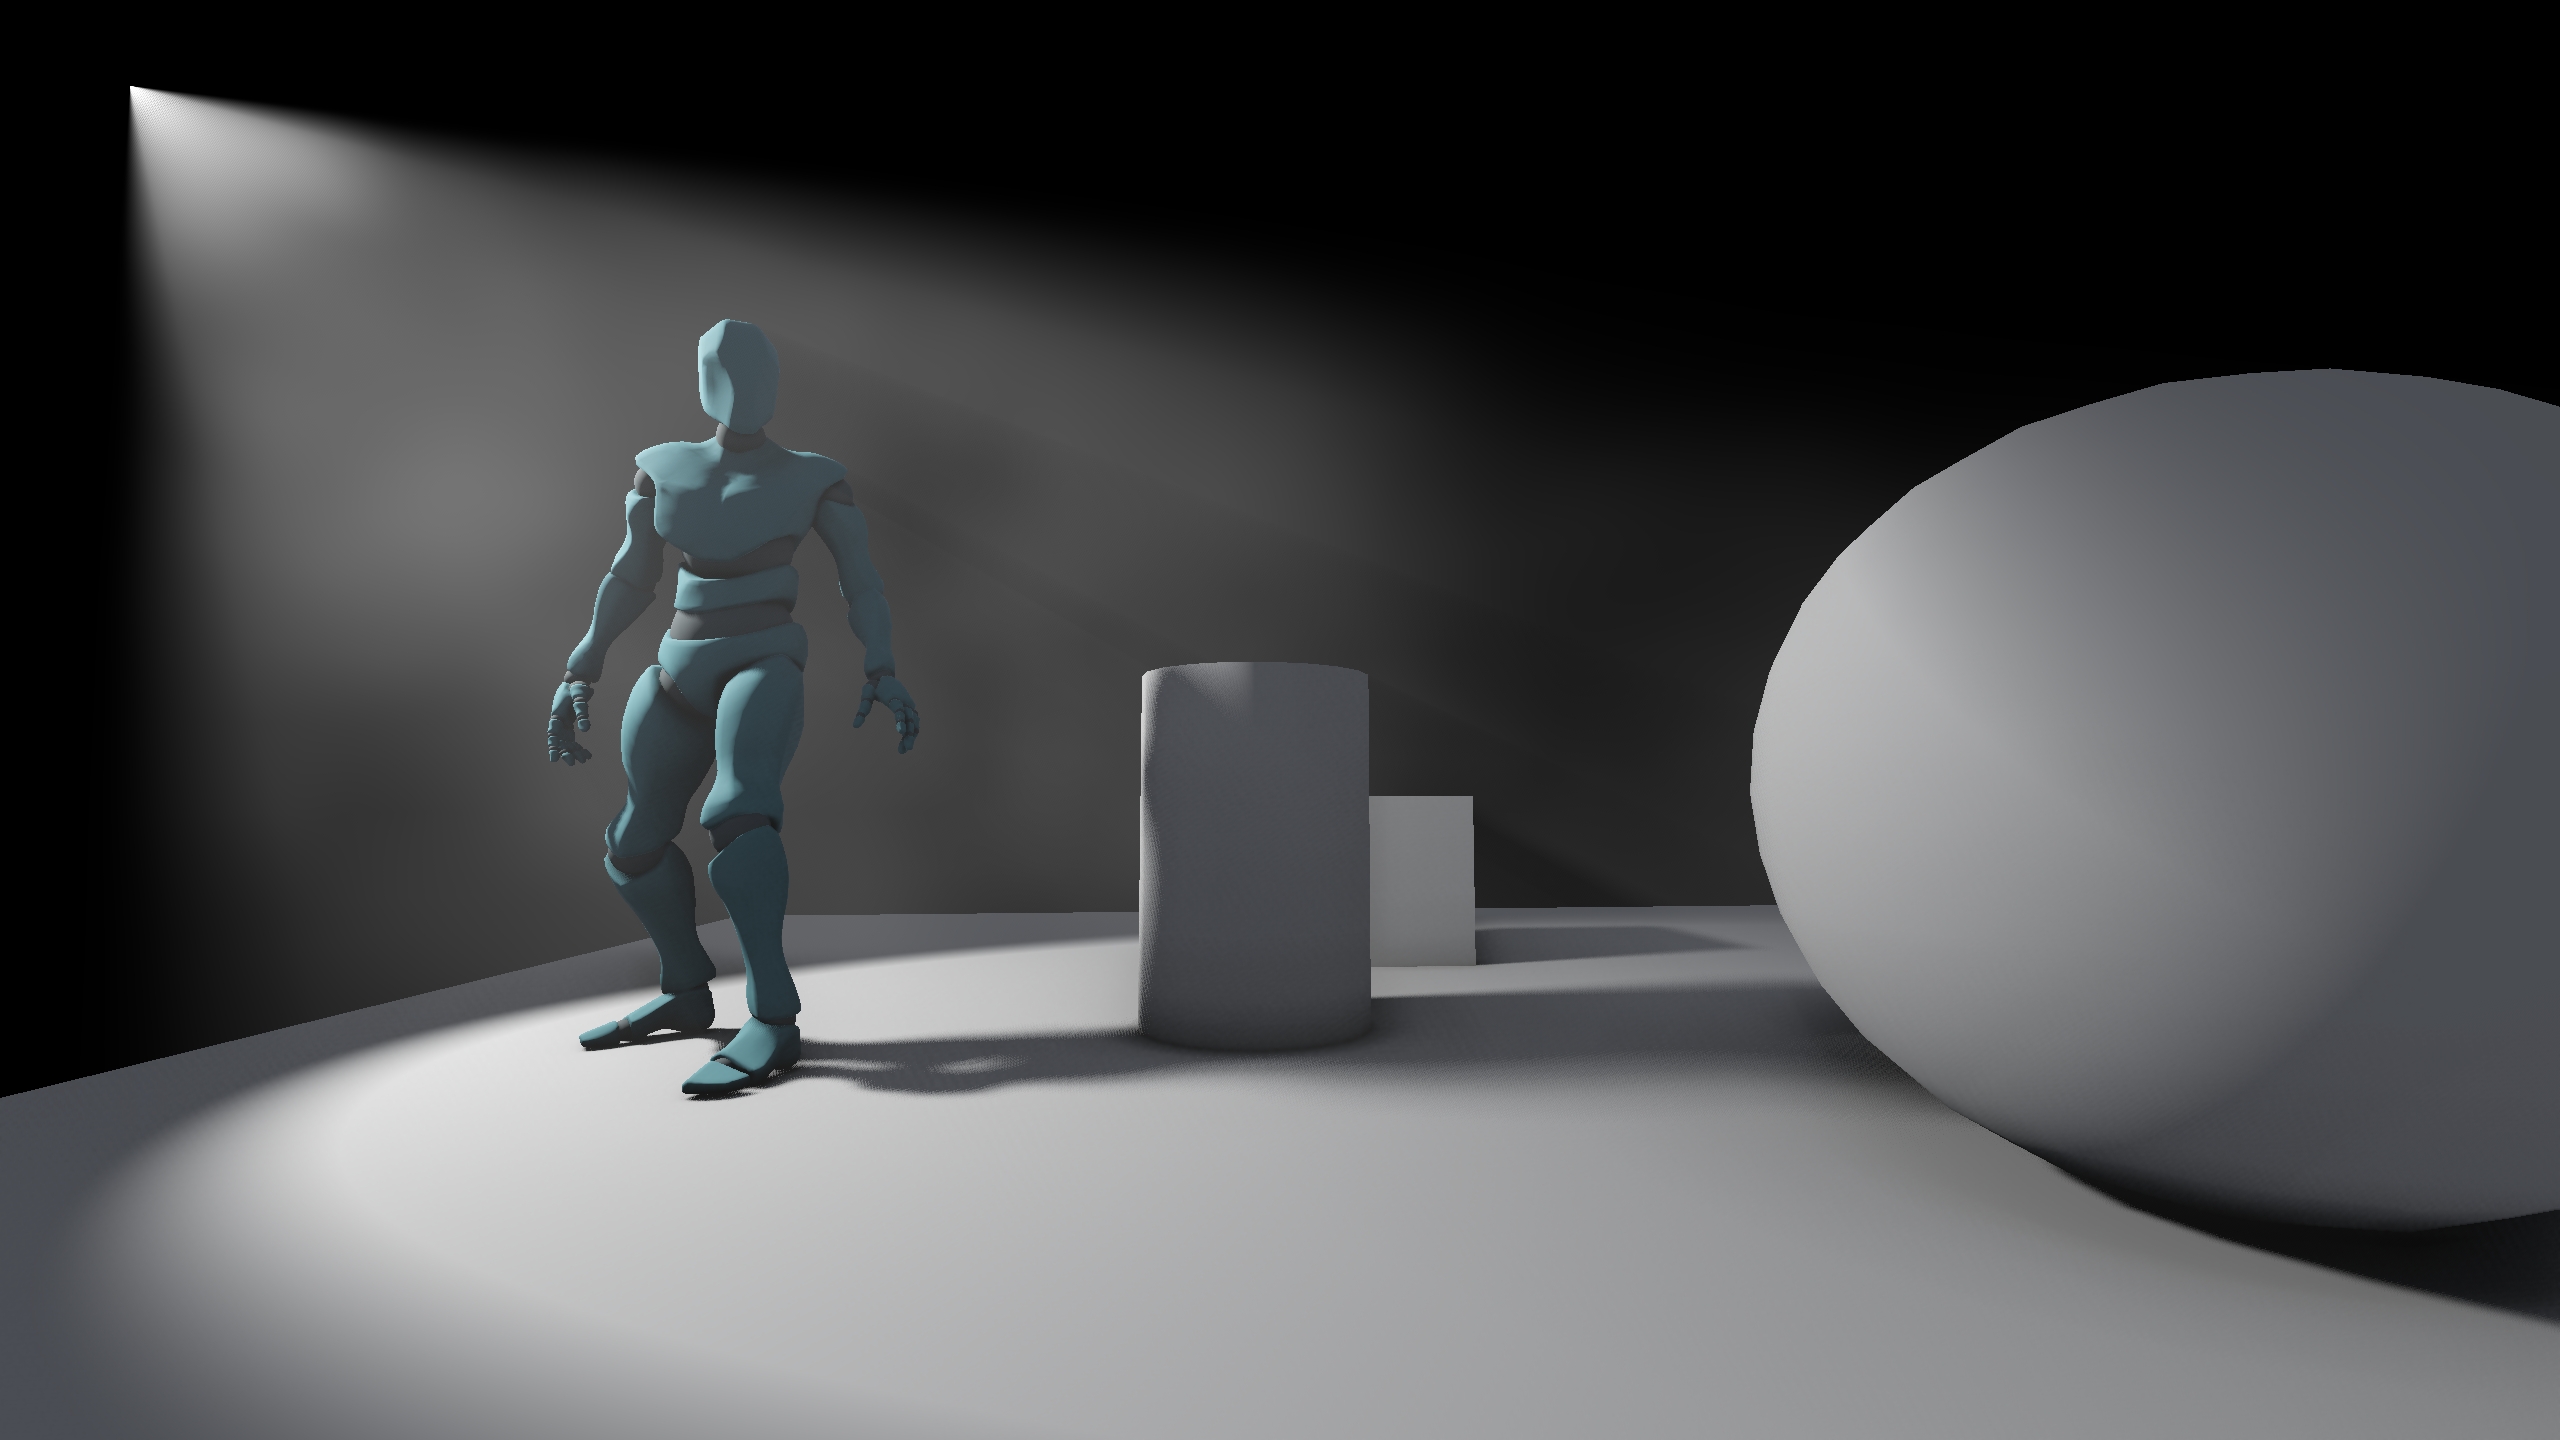
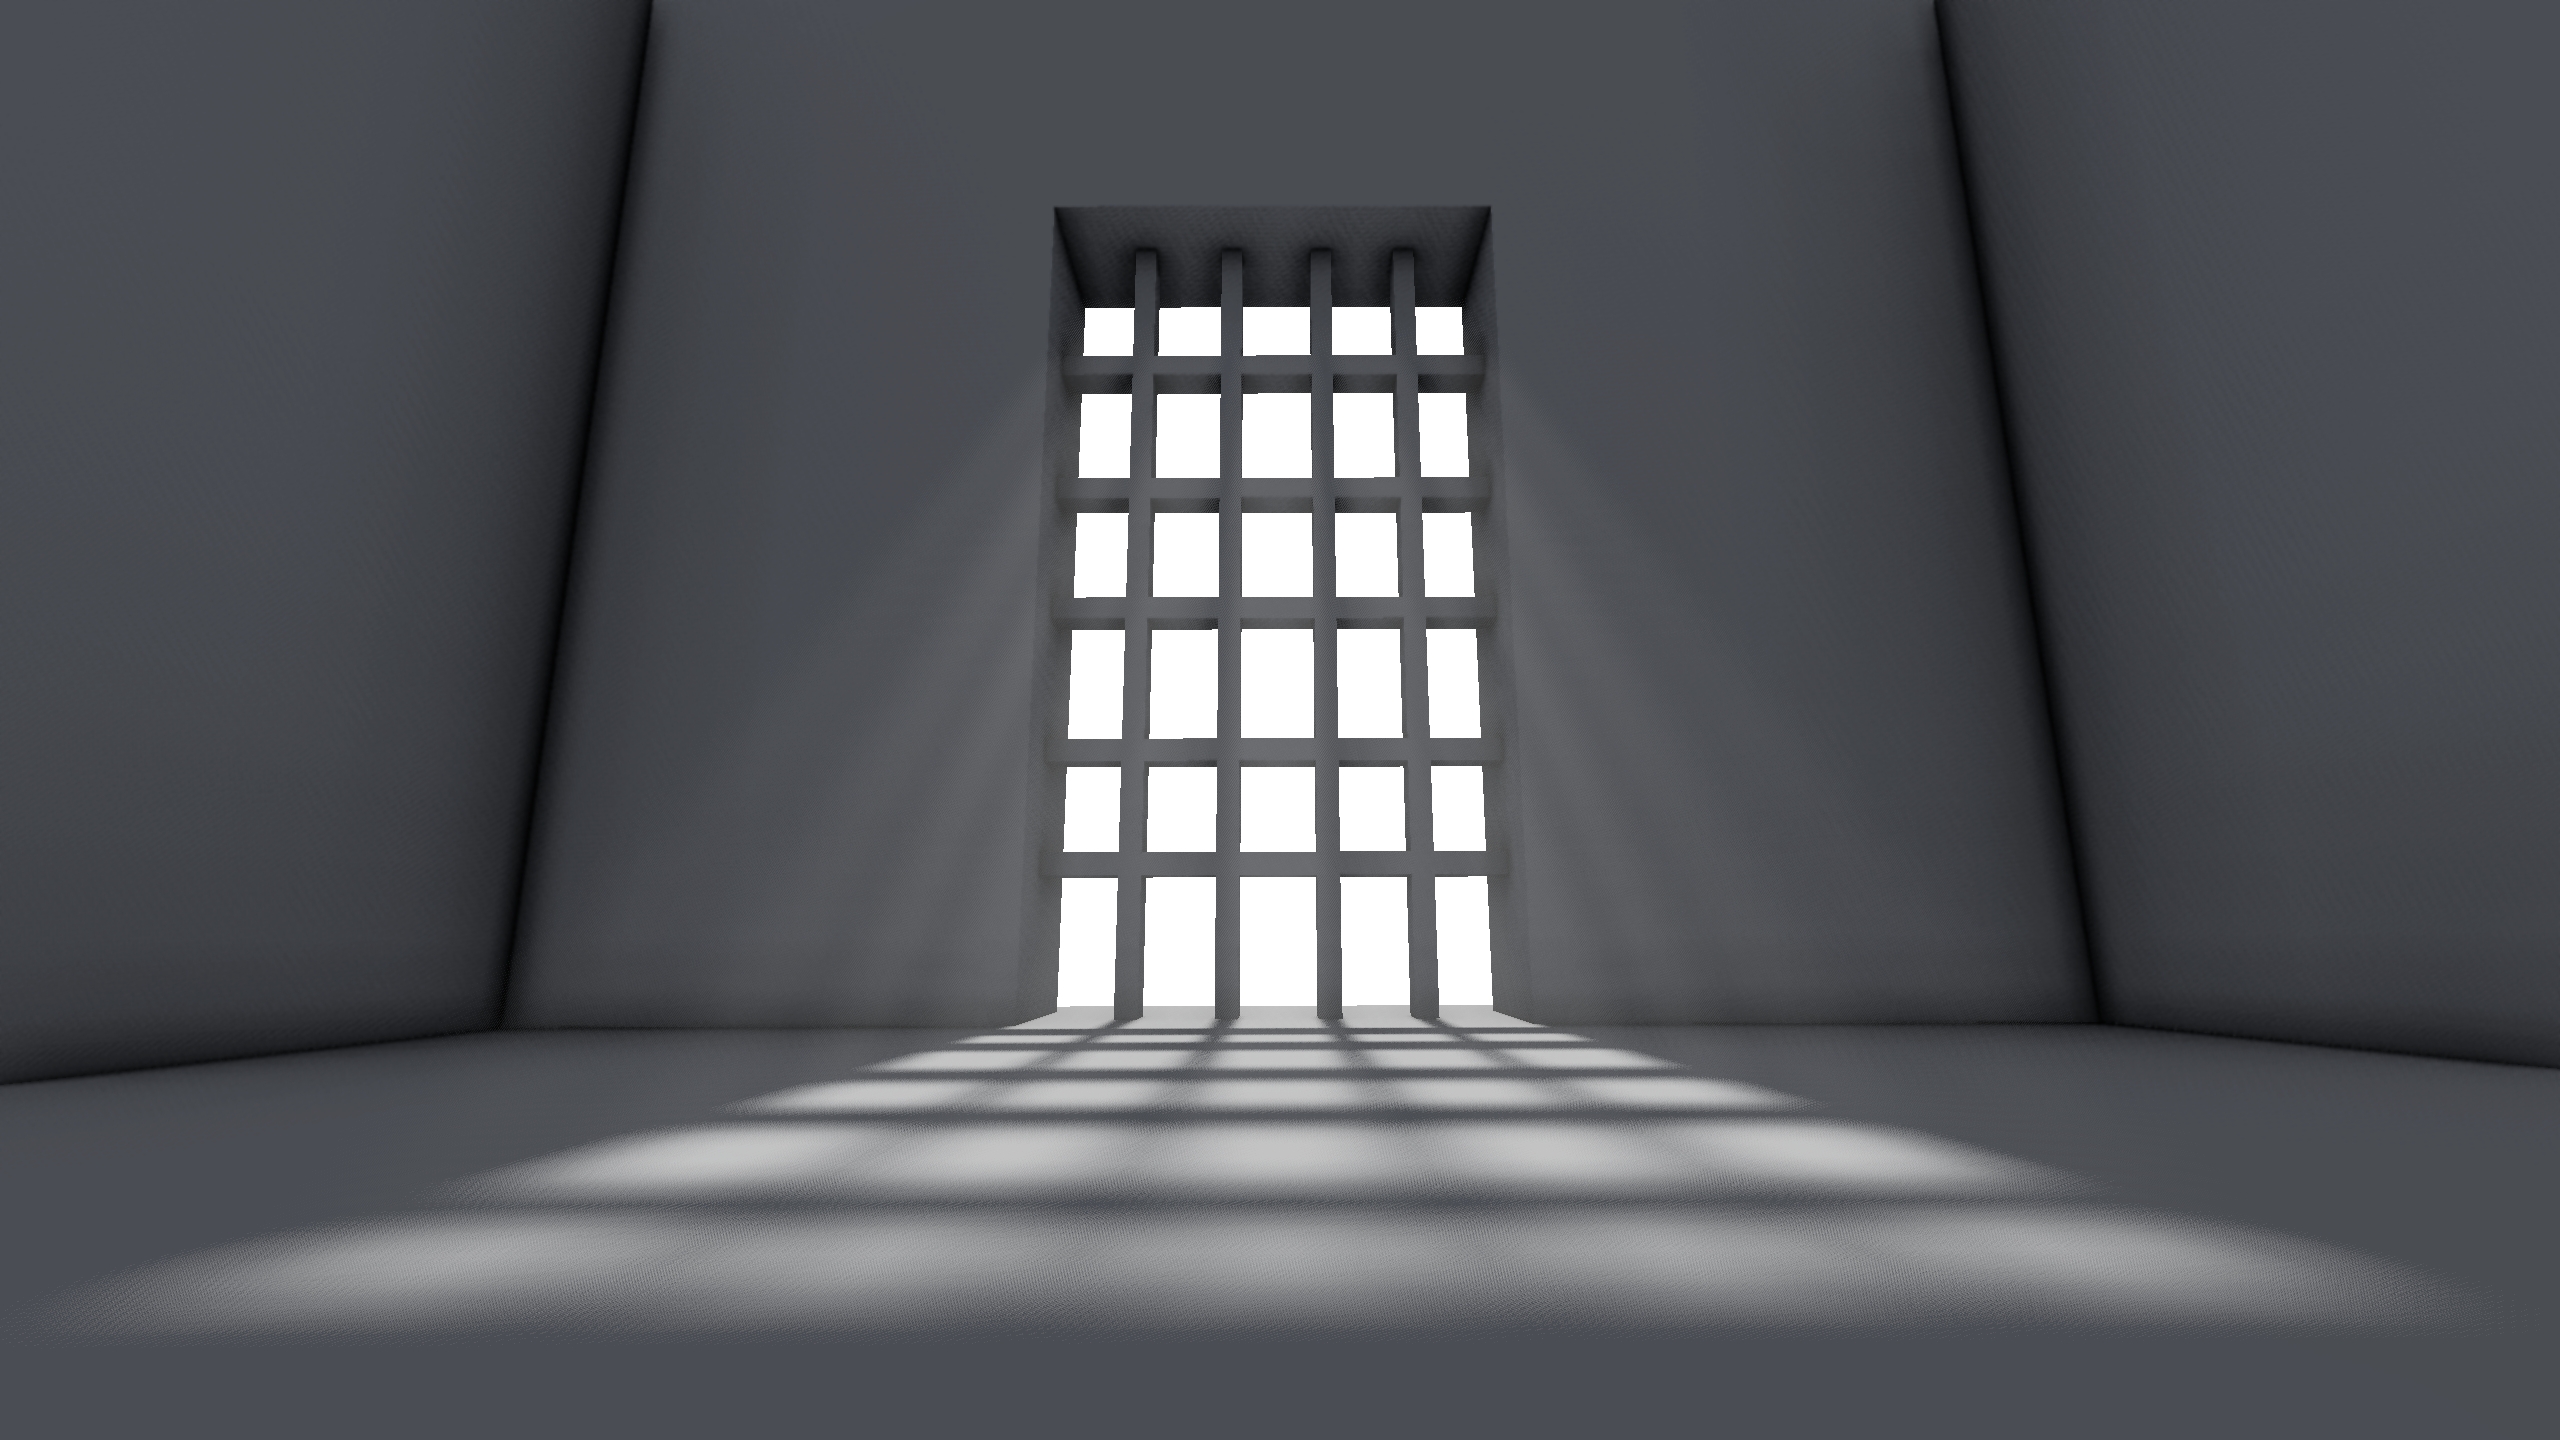
In the quest for compelling interiors, I recently implemented baked global illumination using a sparse voxel grid. However, that was just one piece of the puzzle. Interior spaces often contain dust and other particles supended in the air. When sunlight streams through a window, we sometimes see these particles illuminated, that's volumetric lighting. What you see isn't the light rays themselves, but the way they interact with countless particles in the environment.
Simulating this effect enhances the sense of scale, making interiors feel more believable and atmospheric.
Implementation
The goal is to provide high-quality volumetric lighting at a reasonable cost with intuitive artistic-driven controls.
For each visible light:
- Trace rays through the visible light bounds.
- Accumulate lighting based on some density function and occlusion.
- Additively add the accumulated light to the framebuffer.
Raymarching
Since the pipeline currently supports point, spot and directional lights, we need a way to raymarch through each of them. One way of doing this is by just sampling along the view ray from the camera up to a certain maximum distance. That would work for any type of light, but is also a huge waste of resources. For spherical and cone shaped lights, most samples along the ray would be outside of the light's range and contribute nothing to the effect.
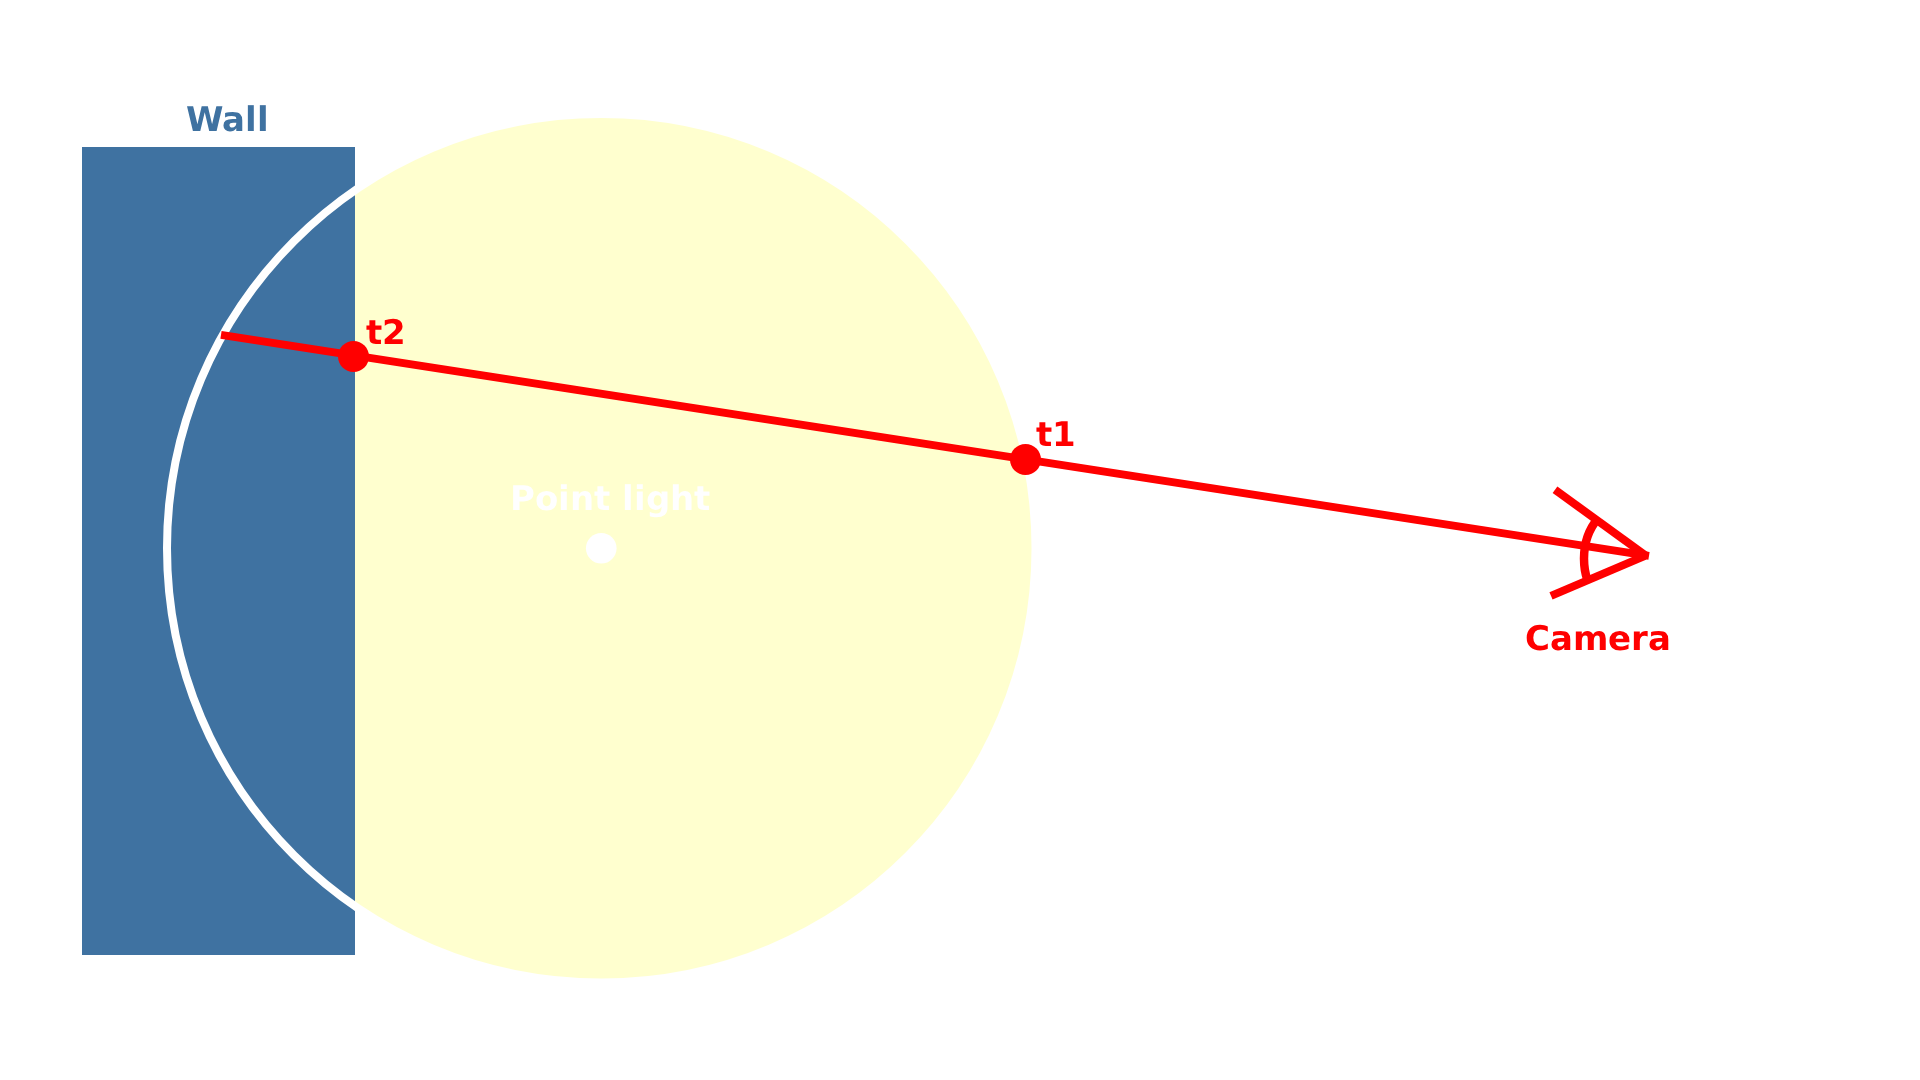
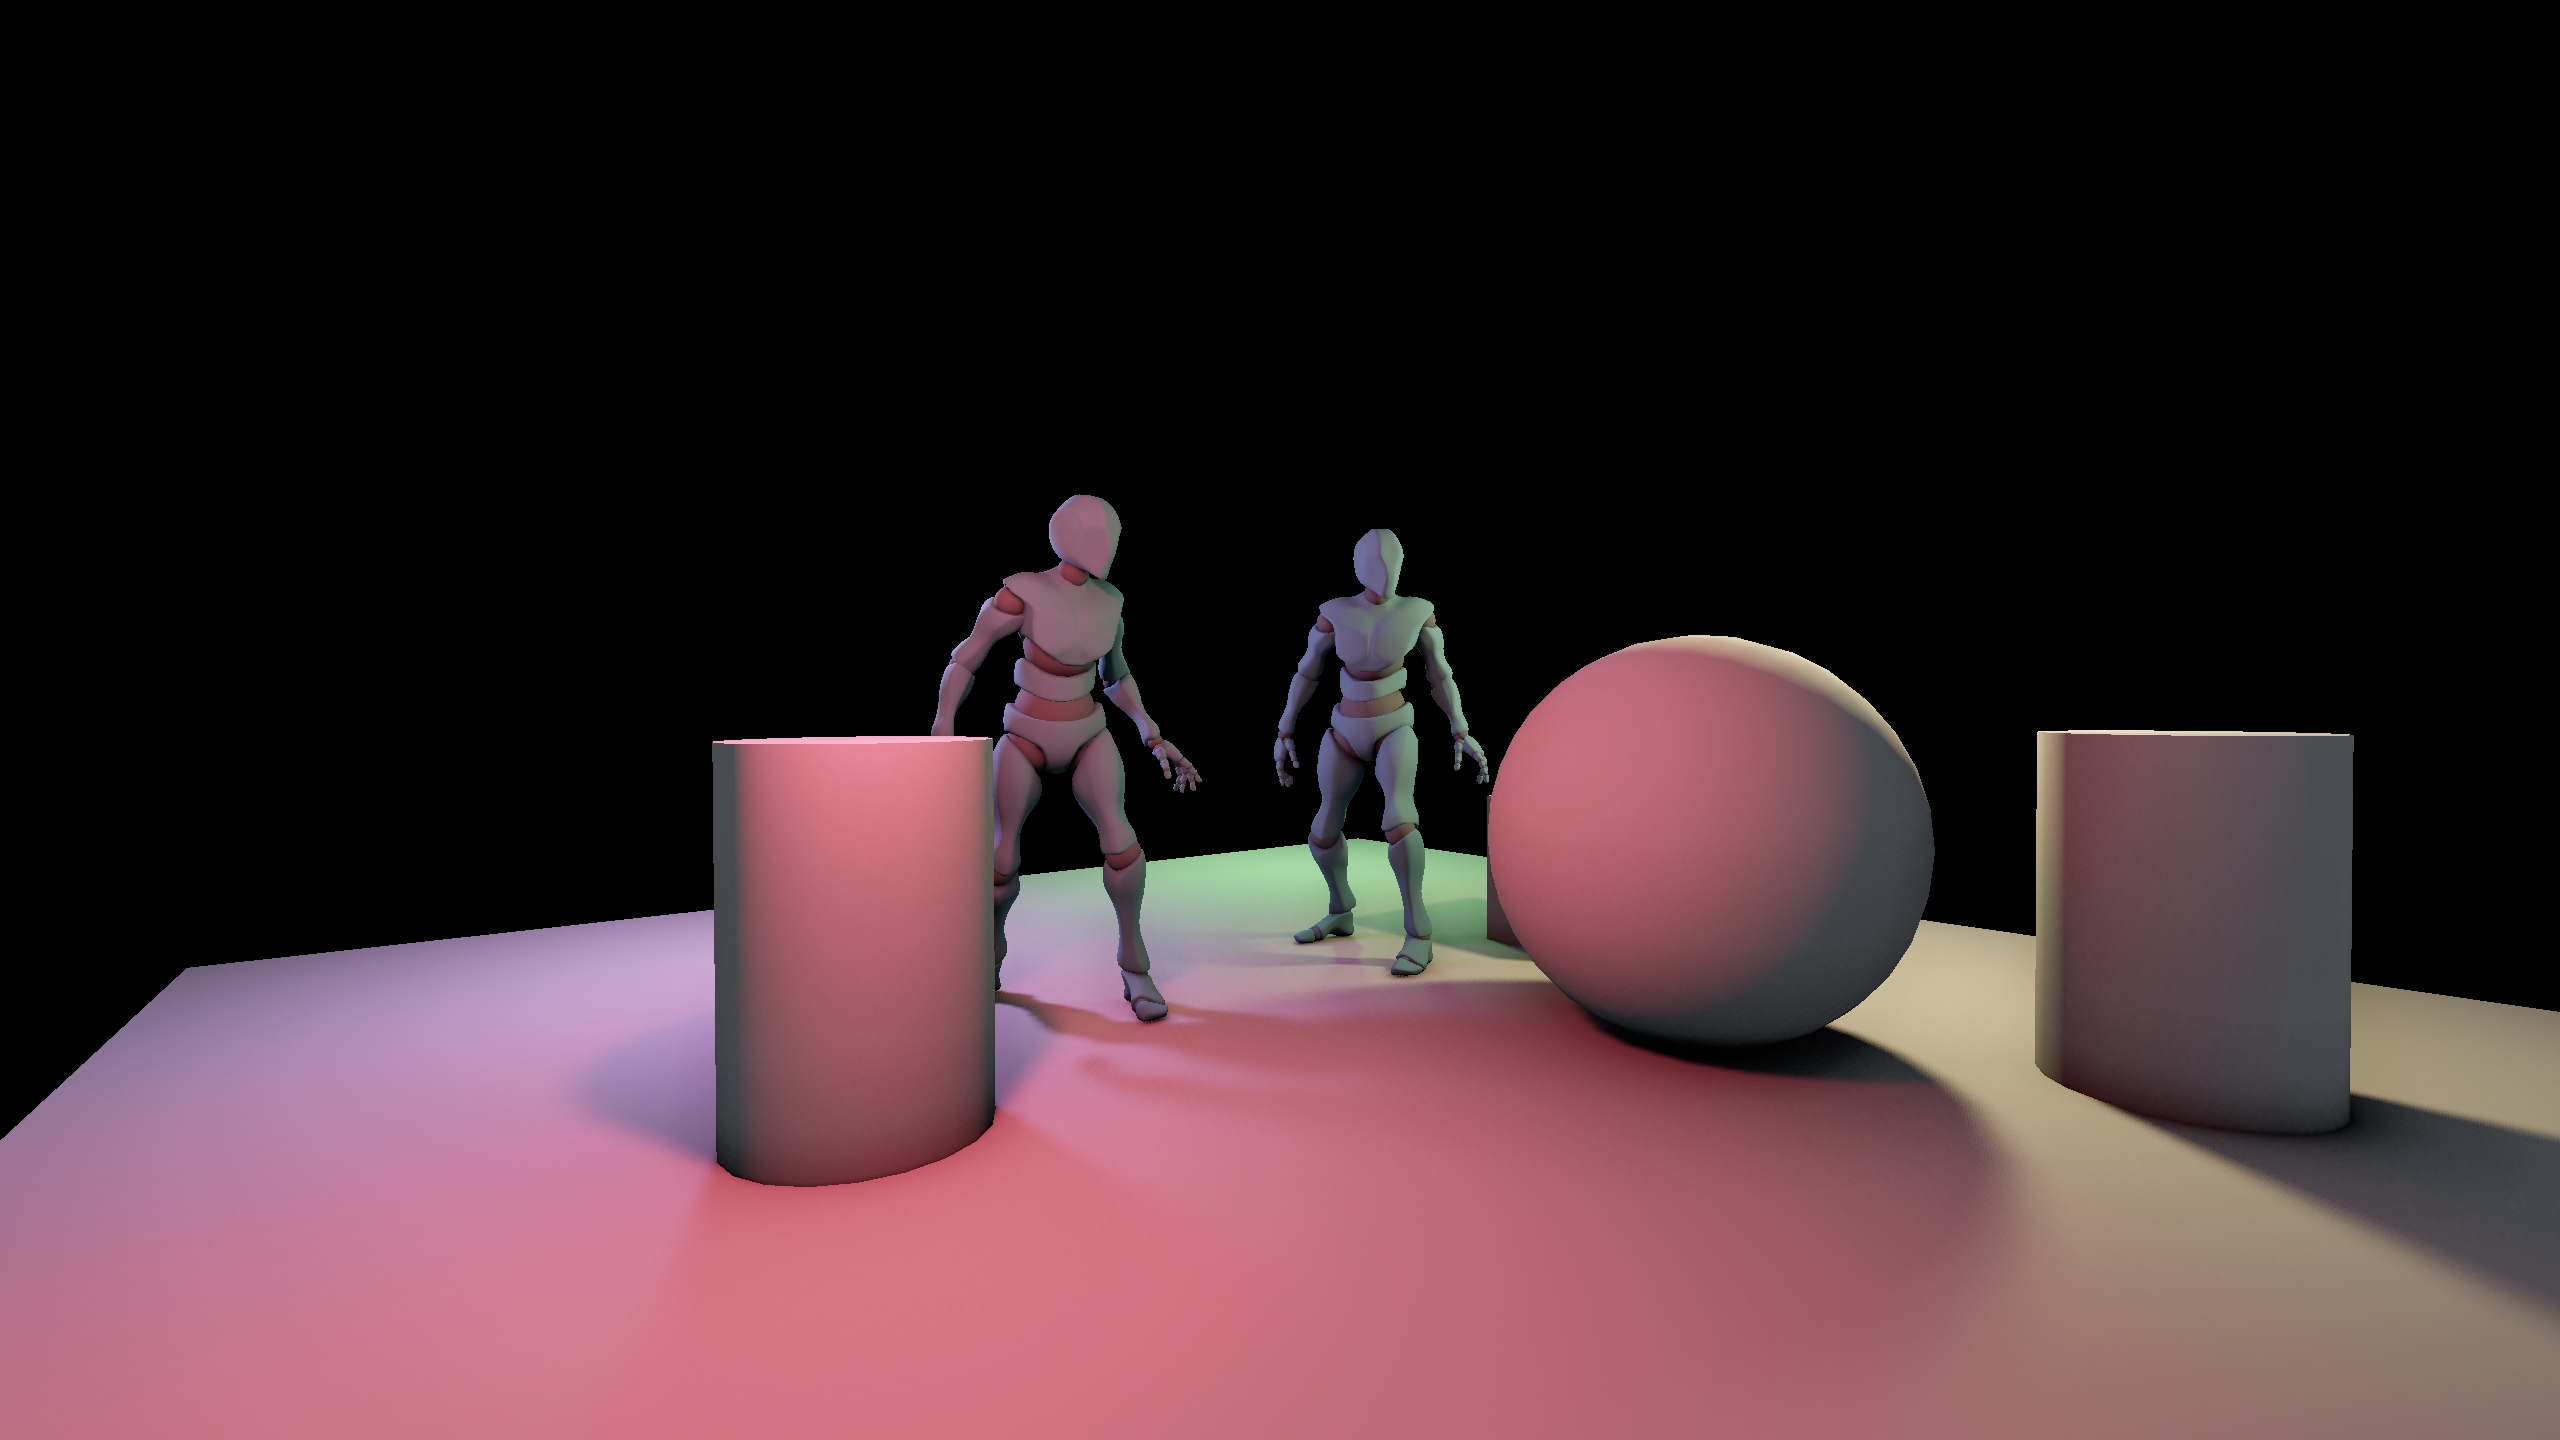
Instead, each light type will issue a draw call with an appropiate mesh shape that renders its back faces and then use math to calculate the exact search space for raymarching. In the case of point and spot lights, this is the process:
-
Render back faces of appropiate meshes for each light:
- Point Lights: Sphere.
- Spot Lights: Cone.
- Treat the world space position as the furthest intersection.
- Mathematically obtain the closest intersection.
- Clamp the search space to never sample behind the camera or beyond the depth buffer.
Directional lights are treated a bit differently. We assume they cover the entire scene, so the search space always extends from the camera to the depth buffer and the light just renders a fullscreen quad.
Transparency ordering
All of the above works fantastic with a scene fully dressed using opaque objects. But how do transparent effects integrate into it? I'm afraid a perfect solution would involve rendering volumetric lighting before transparents, and then again for each transparent fragment. Similarly, fog can be rendered as a postprocessing effect for opaque surfaces, but needs to be computed per-fragment for transparent objects. However, while fog is a trivial computation, volumetric lighting isn't. Instead of aiming for perfection, let's aim for plausibility.
We have two available options then:
- Render volumetrics before/after transparencies: This could lead to plausible results when using transparent objects with a low opacity. However, transparent objects with a high opacity will break the illusion. Example: Imagine a volumetric spot light illuminating the center of a scene. In this case, we render volumetrics before transparents. Then, place a transparent object behind it with a high opacity. It will remove the volumetric effect almost completely. You can fix it by rendering volumetrics after transparents, but then if you place the same object in front of the light, you will be able to see the volumetric effect with 100% opacity through an object that in theory should barely let you see through.
- Render volumetrics during transparencies: Let each light issue a draw call as if it was just another transparent object with equal priority. While culling, the volumetric effect will automatically be sorted between other transparent surfaces. This must be handled with care, because lights can cover a huge space and lead to sorting inconsistencies between frames. It also means that volumetrics must be rendered at the same resolution as other transparent objects. This can only be applied to point and spot lights though, since directional lights cover the entire scene and can only be applied before or after transparencies, at least for now.
In practice, I have found the second solution to work best in our case, but it is game-dependant. Test whatever works best for your case.
Softening Edges
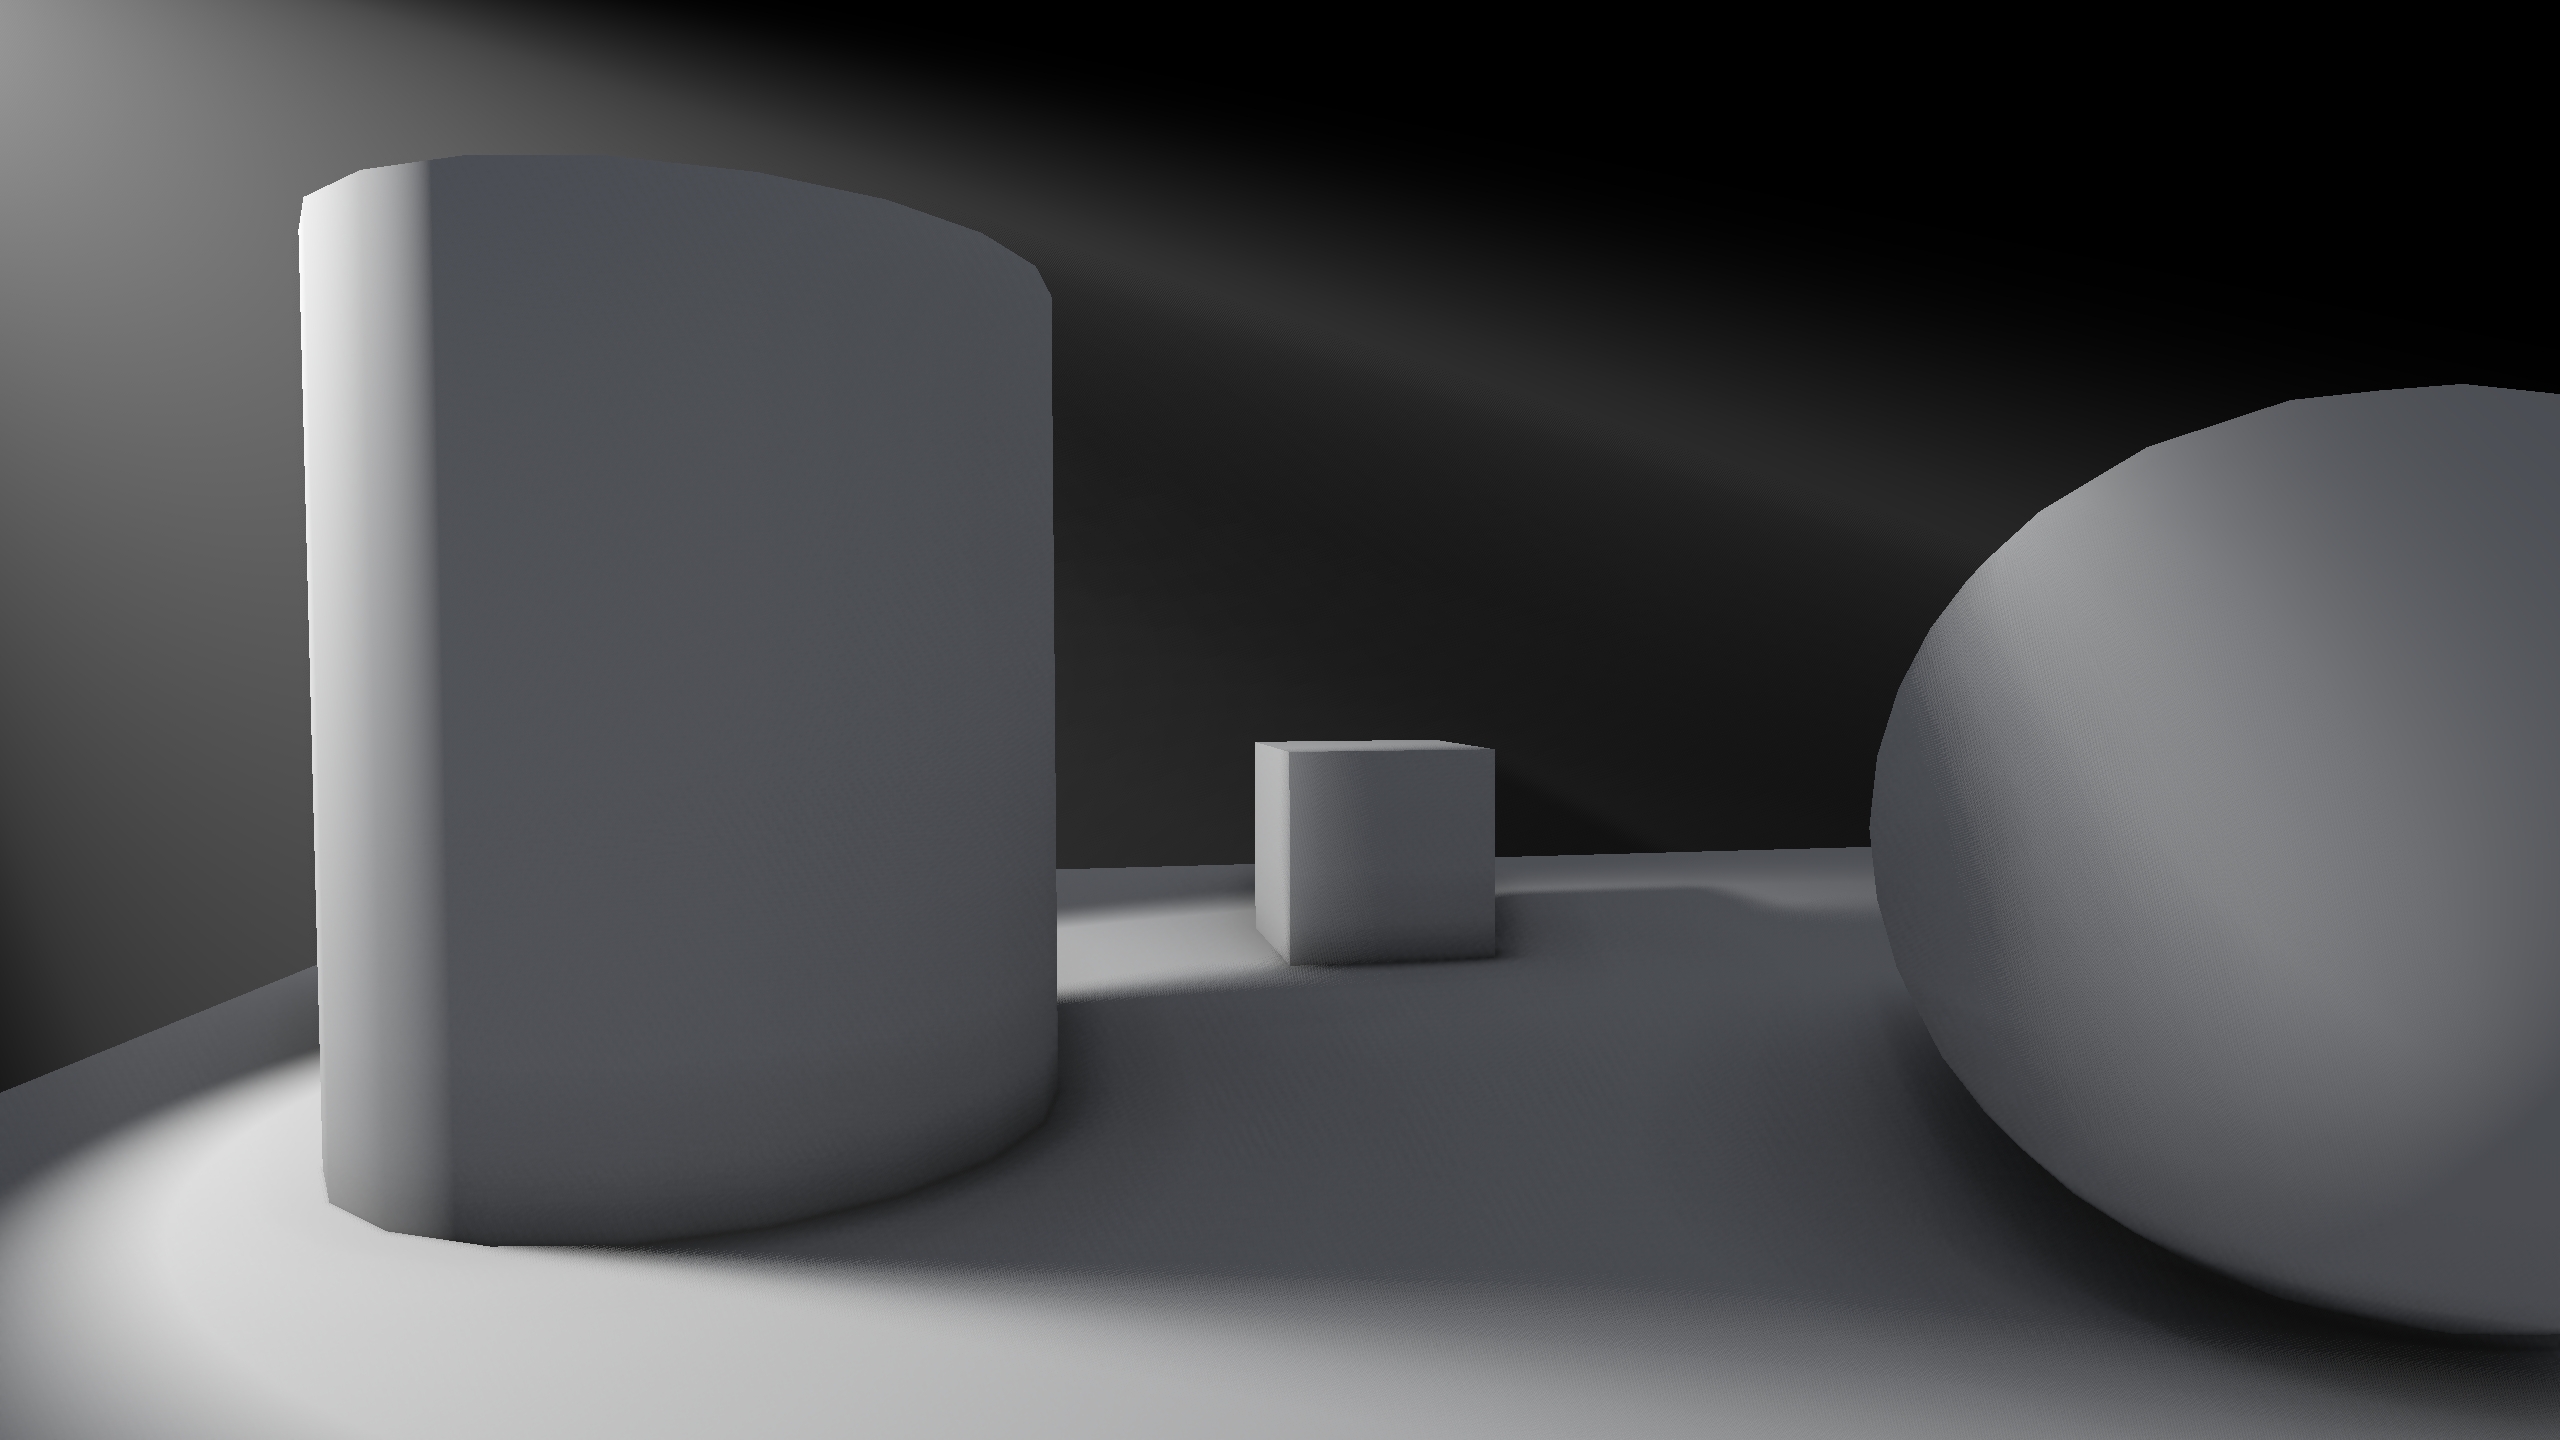
For performance reasons, occlusion is calculated at each ray step using a single sample of the light's shadow map. This results in hard looking edges in certain scenarios. Additionally, we currently need a lot of samples along the ray to capture fine detail and avoid banding. To illustrate the problem, look what happens if I drastically decrease the amount of samples along the ray:
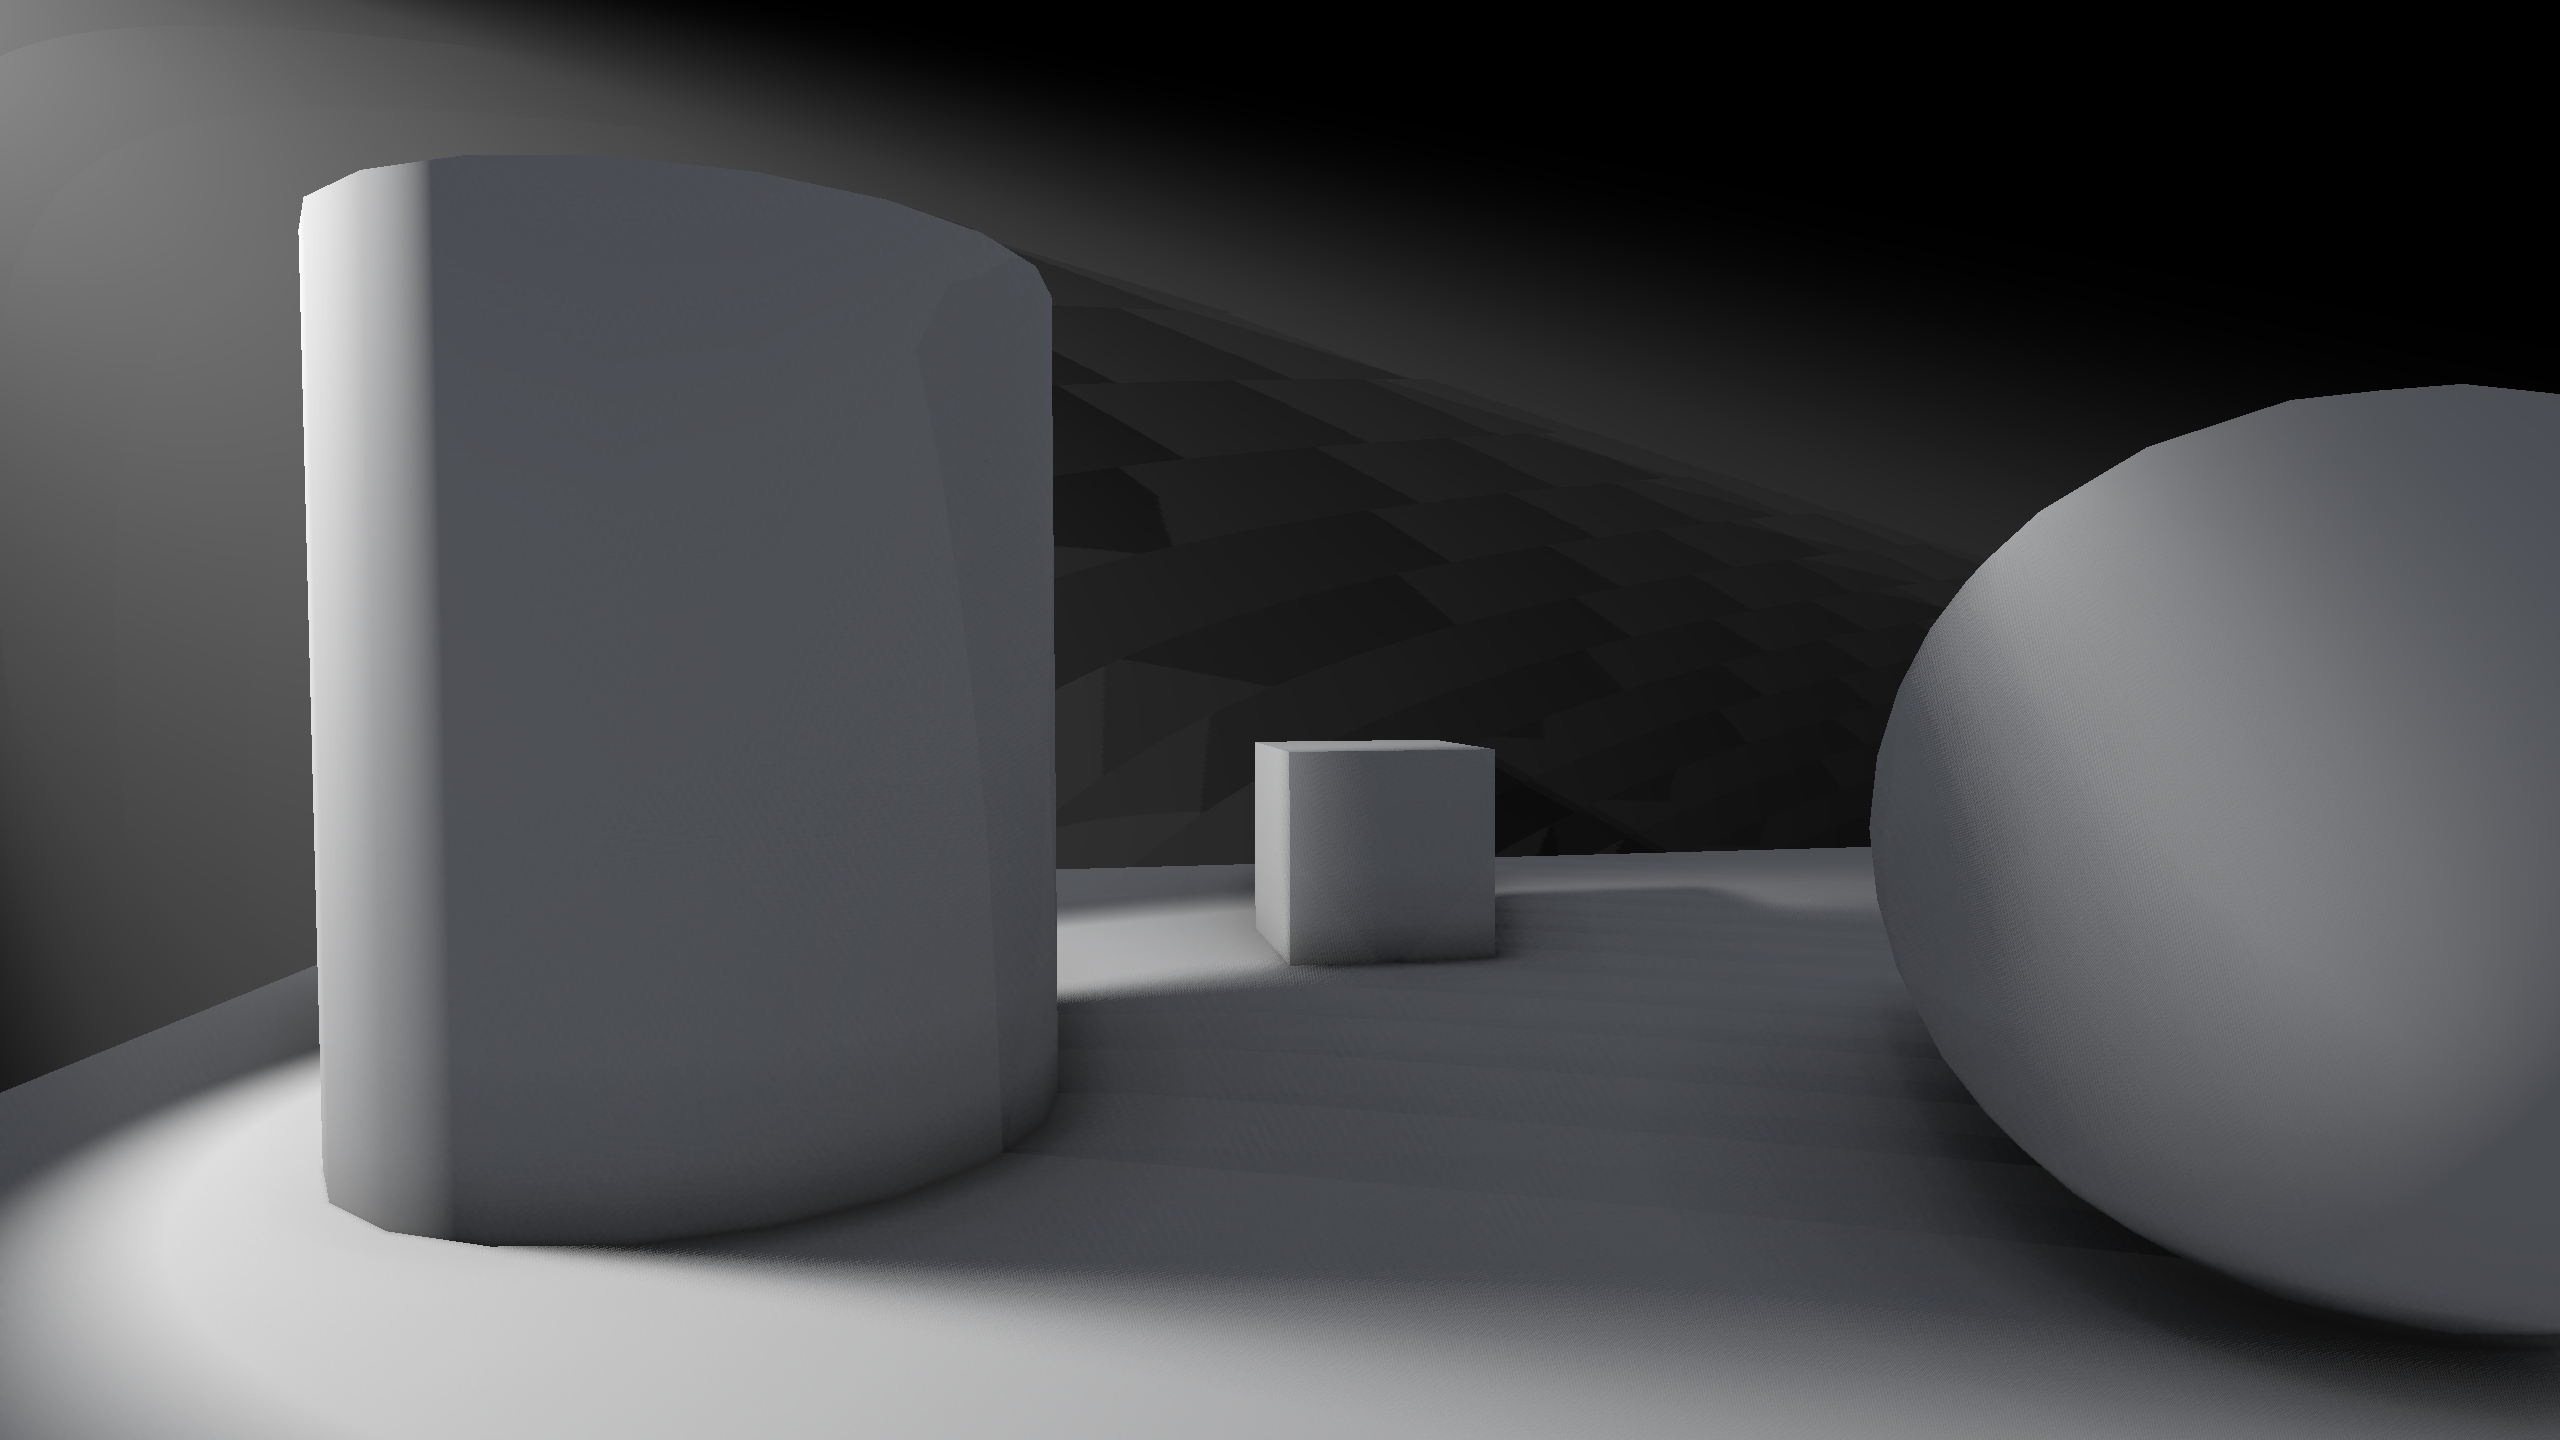
For other effects, hard edges could be softened using a blur pass after rendering. However, in this case volumetrics are rendered as any other transparent object to the framebuffer, so we can't just blur the result.
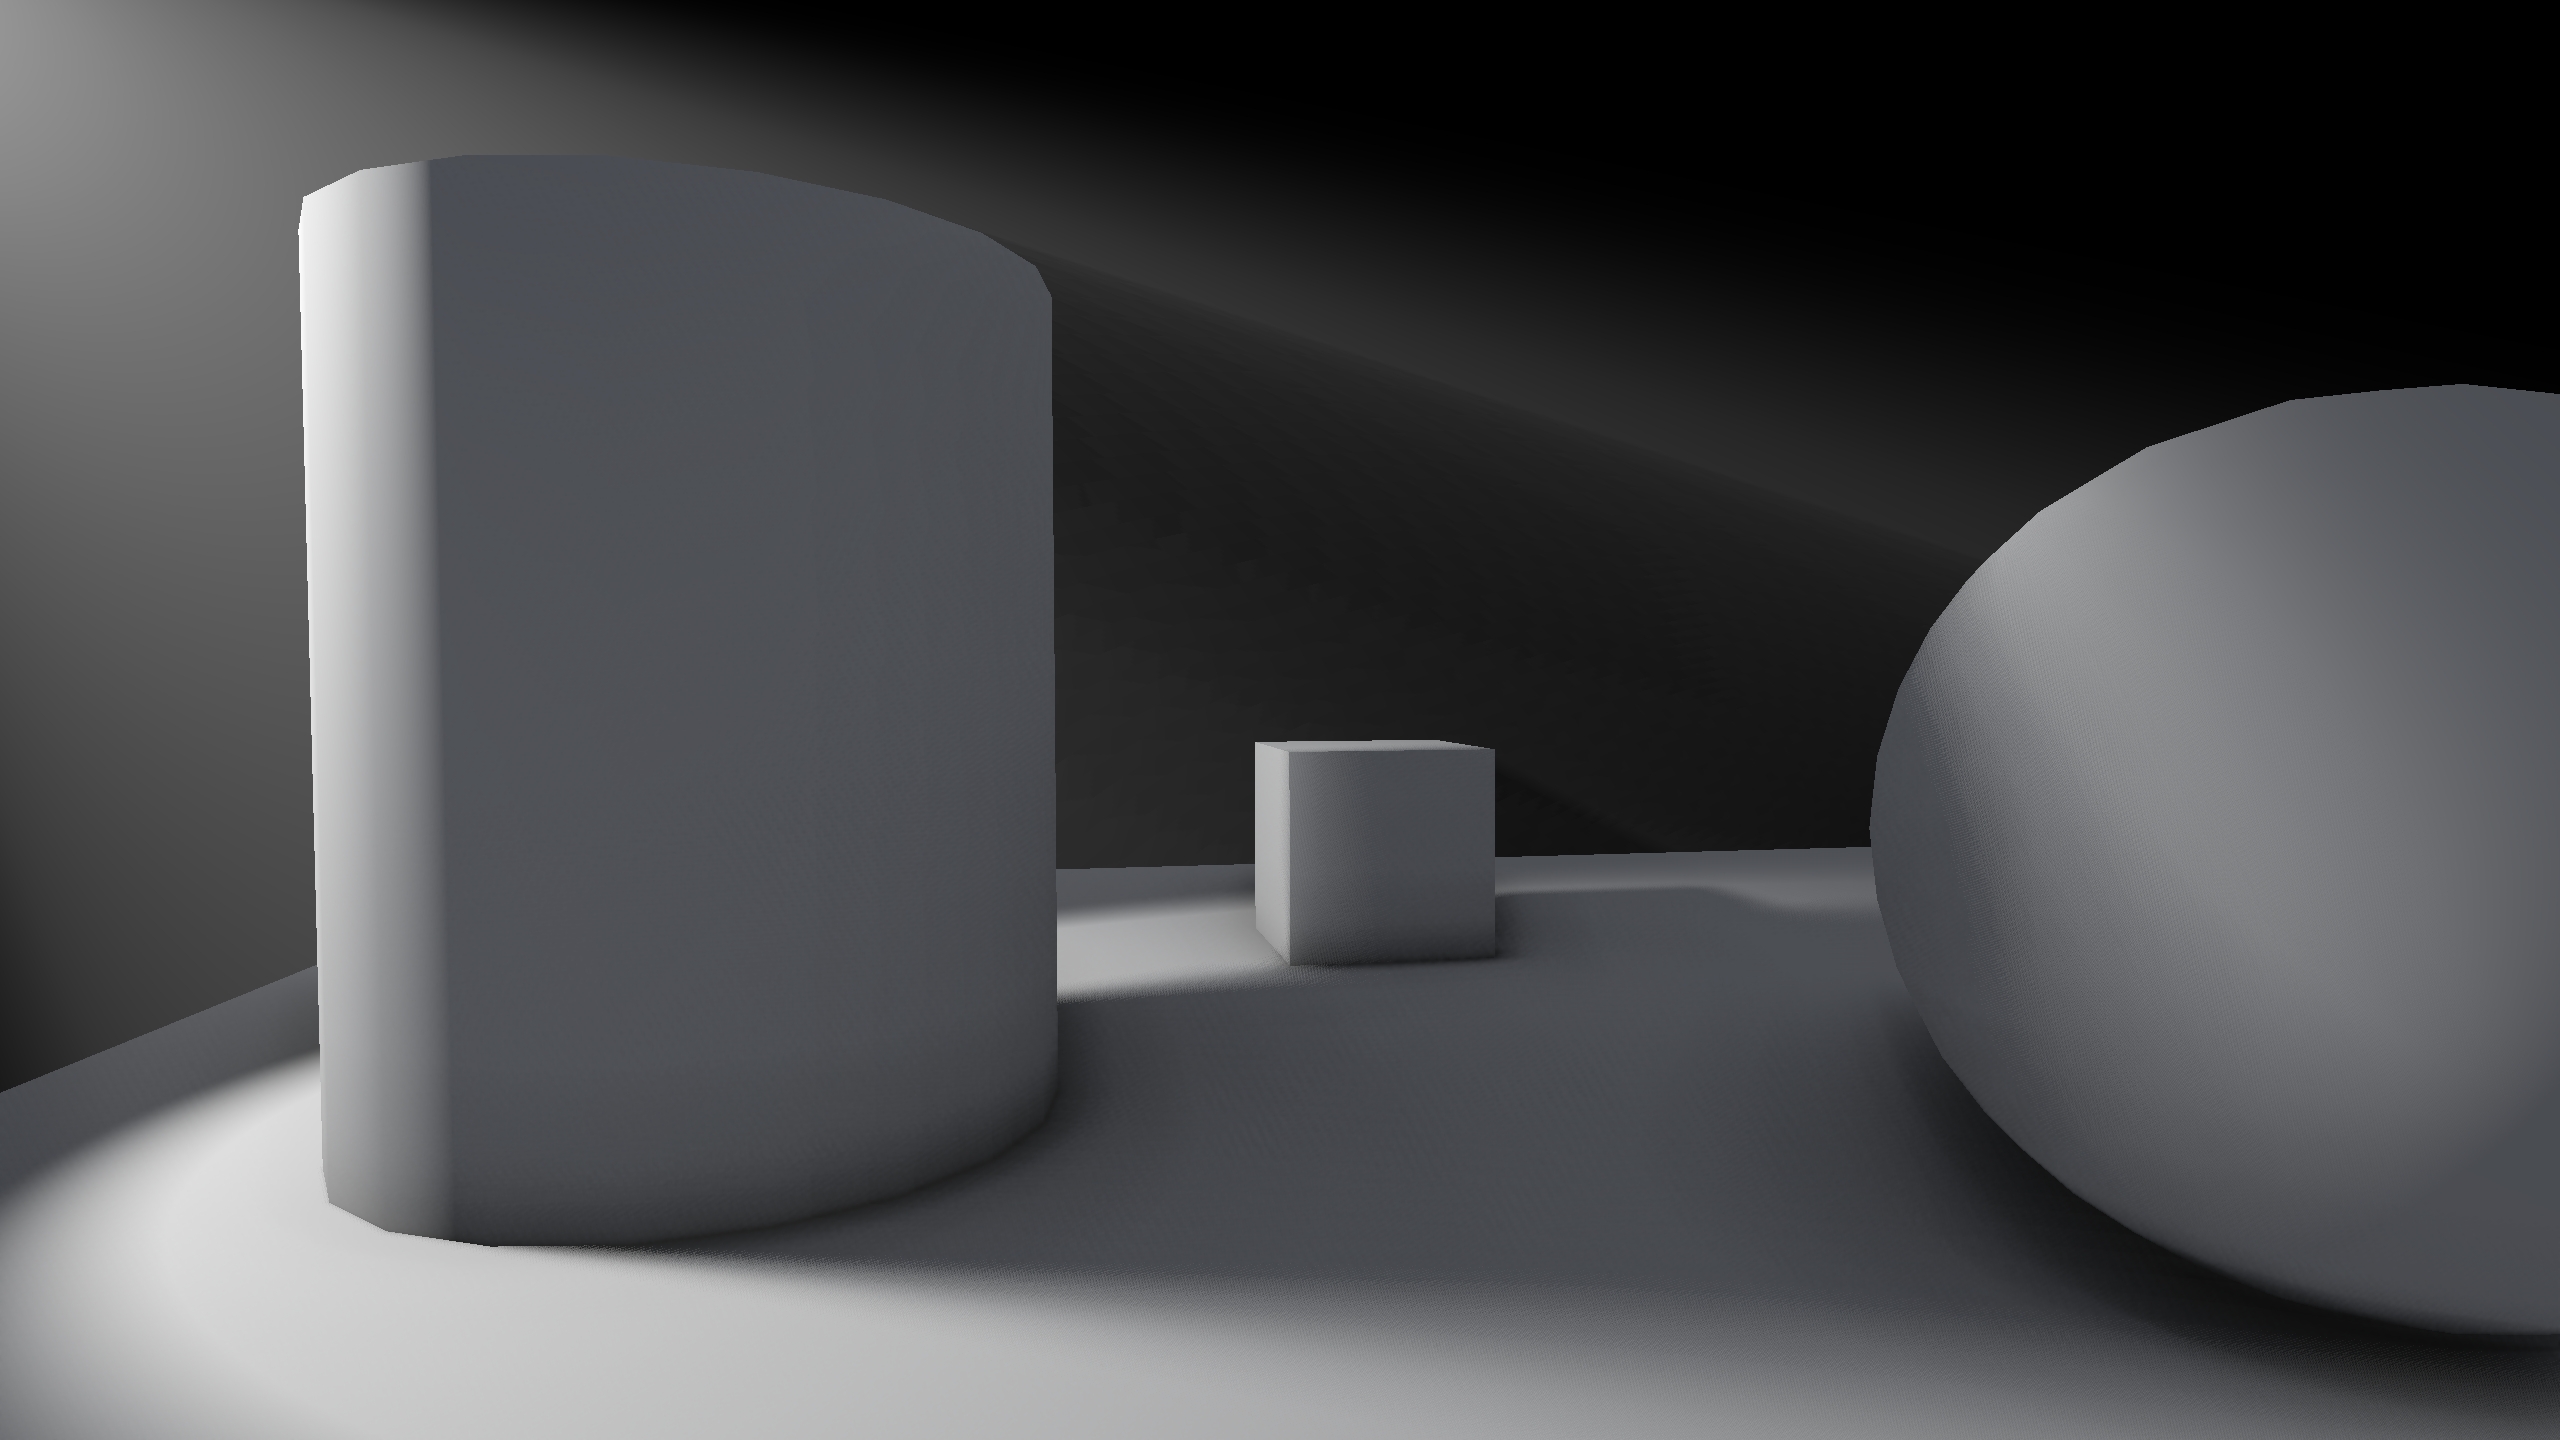
Instead, noise can be used to great effect to simulate blur. First, each ray point is displaced by a noise function towards the next sample point in the ray. That already let's us reduce the sample count drastically and still capture fine detail, it also removes banding almost entirely. However, it doesn't remove the hard edges. For that purpose, we can use the same noise value as a polar coordinate and create a 2D displacement vector from it. We can scale that vector by a user-defined variable in the light to control blur, and add it to the shadow map UV in each sample.
Adding Dust
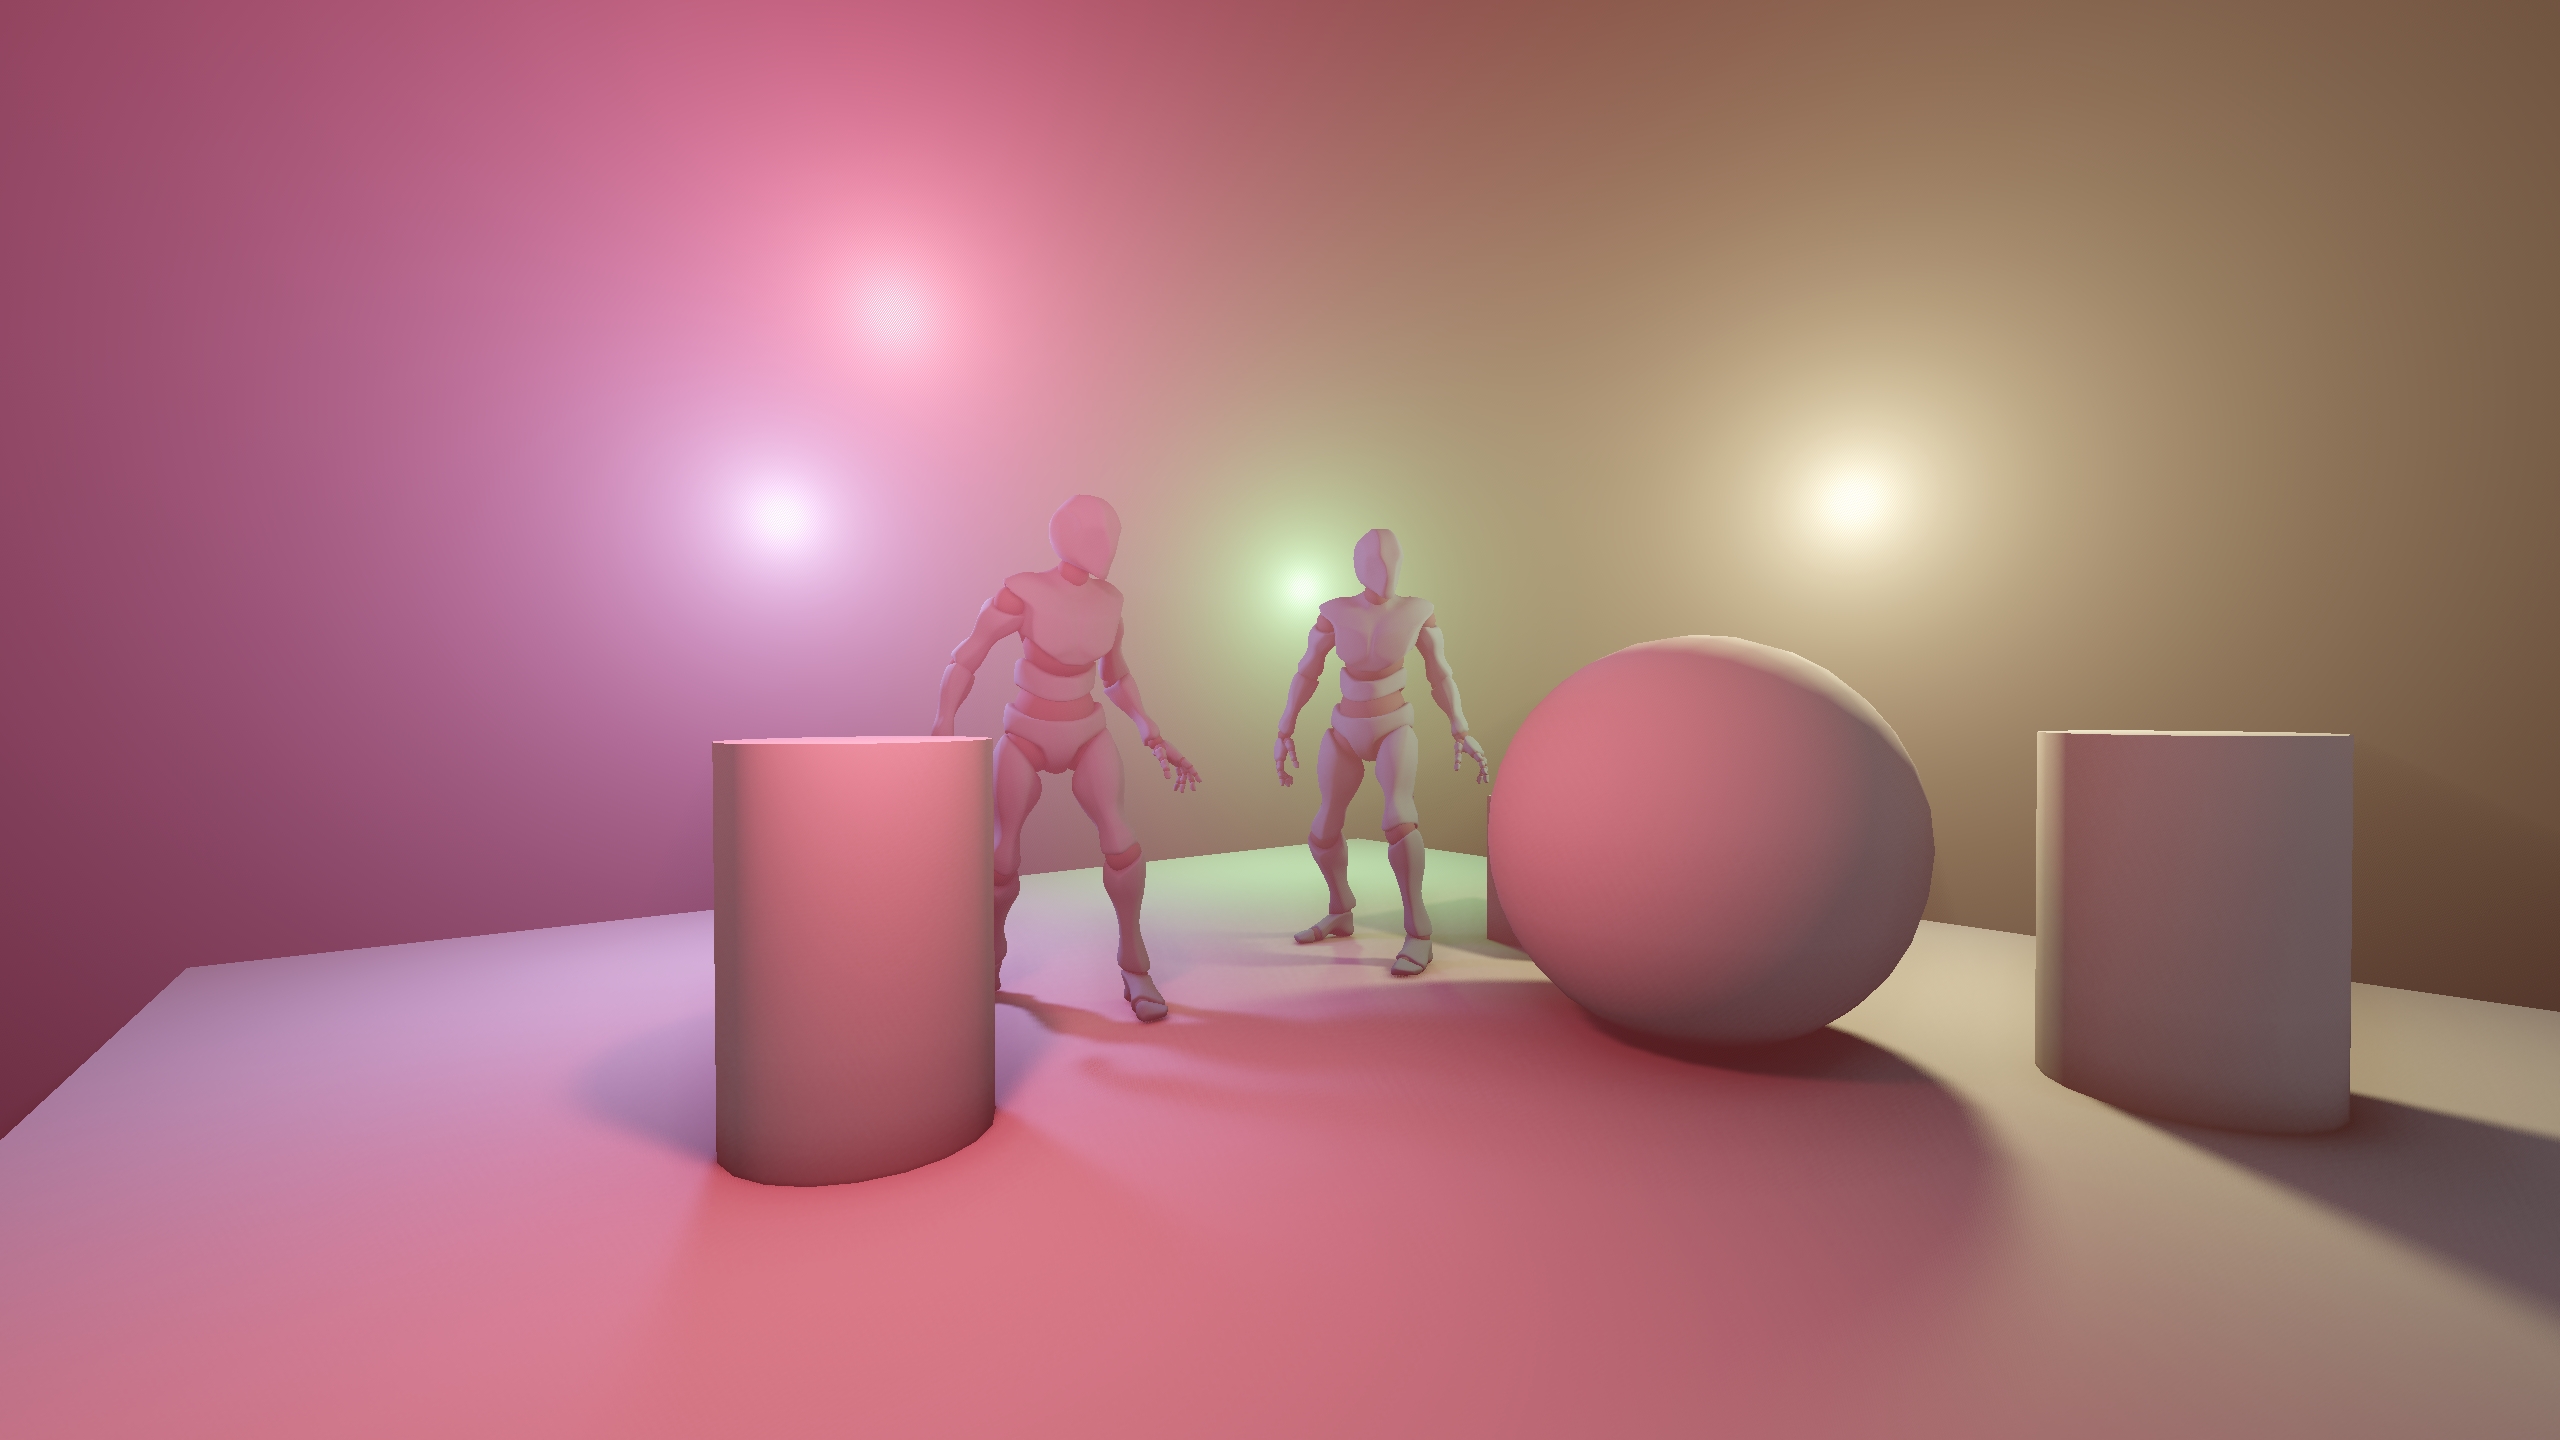
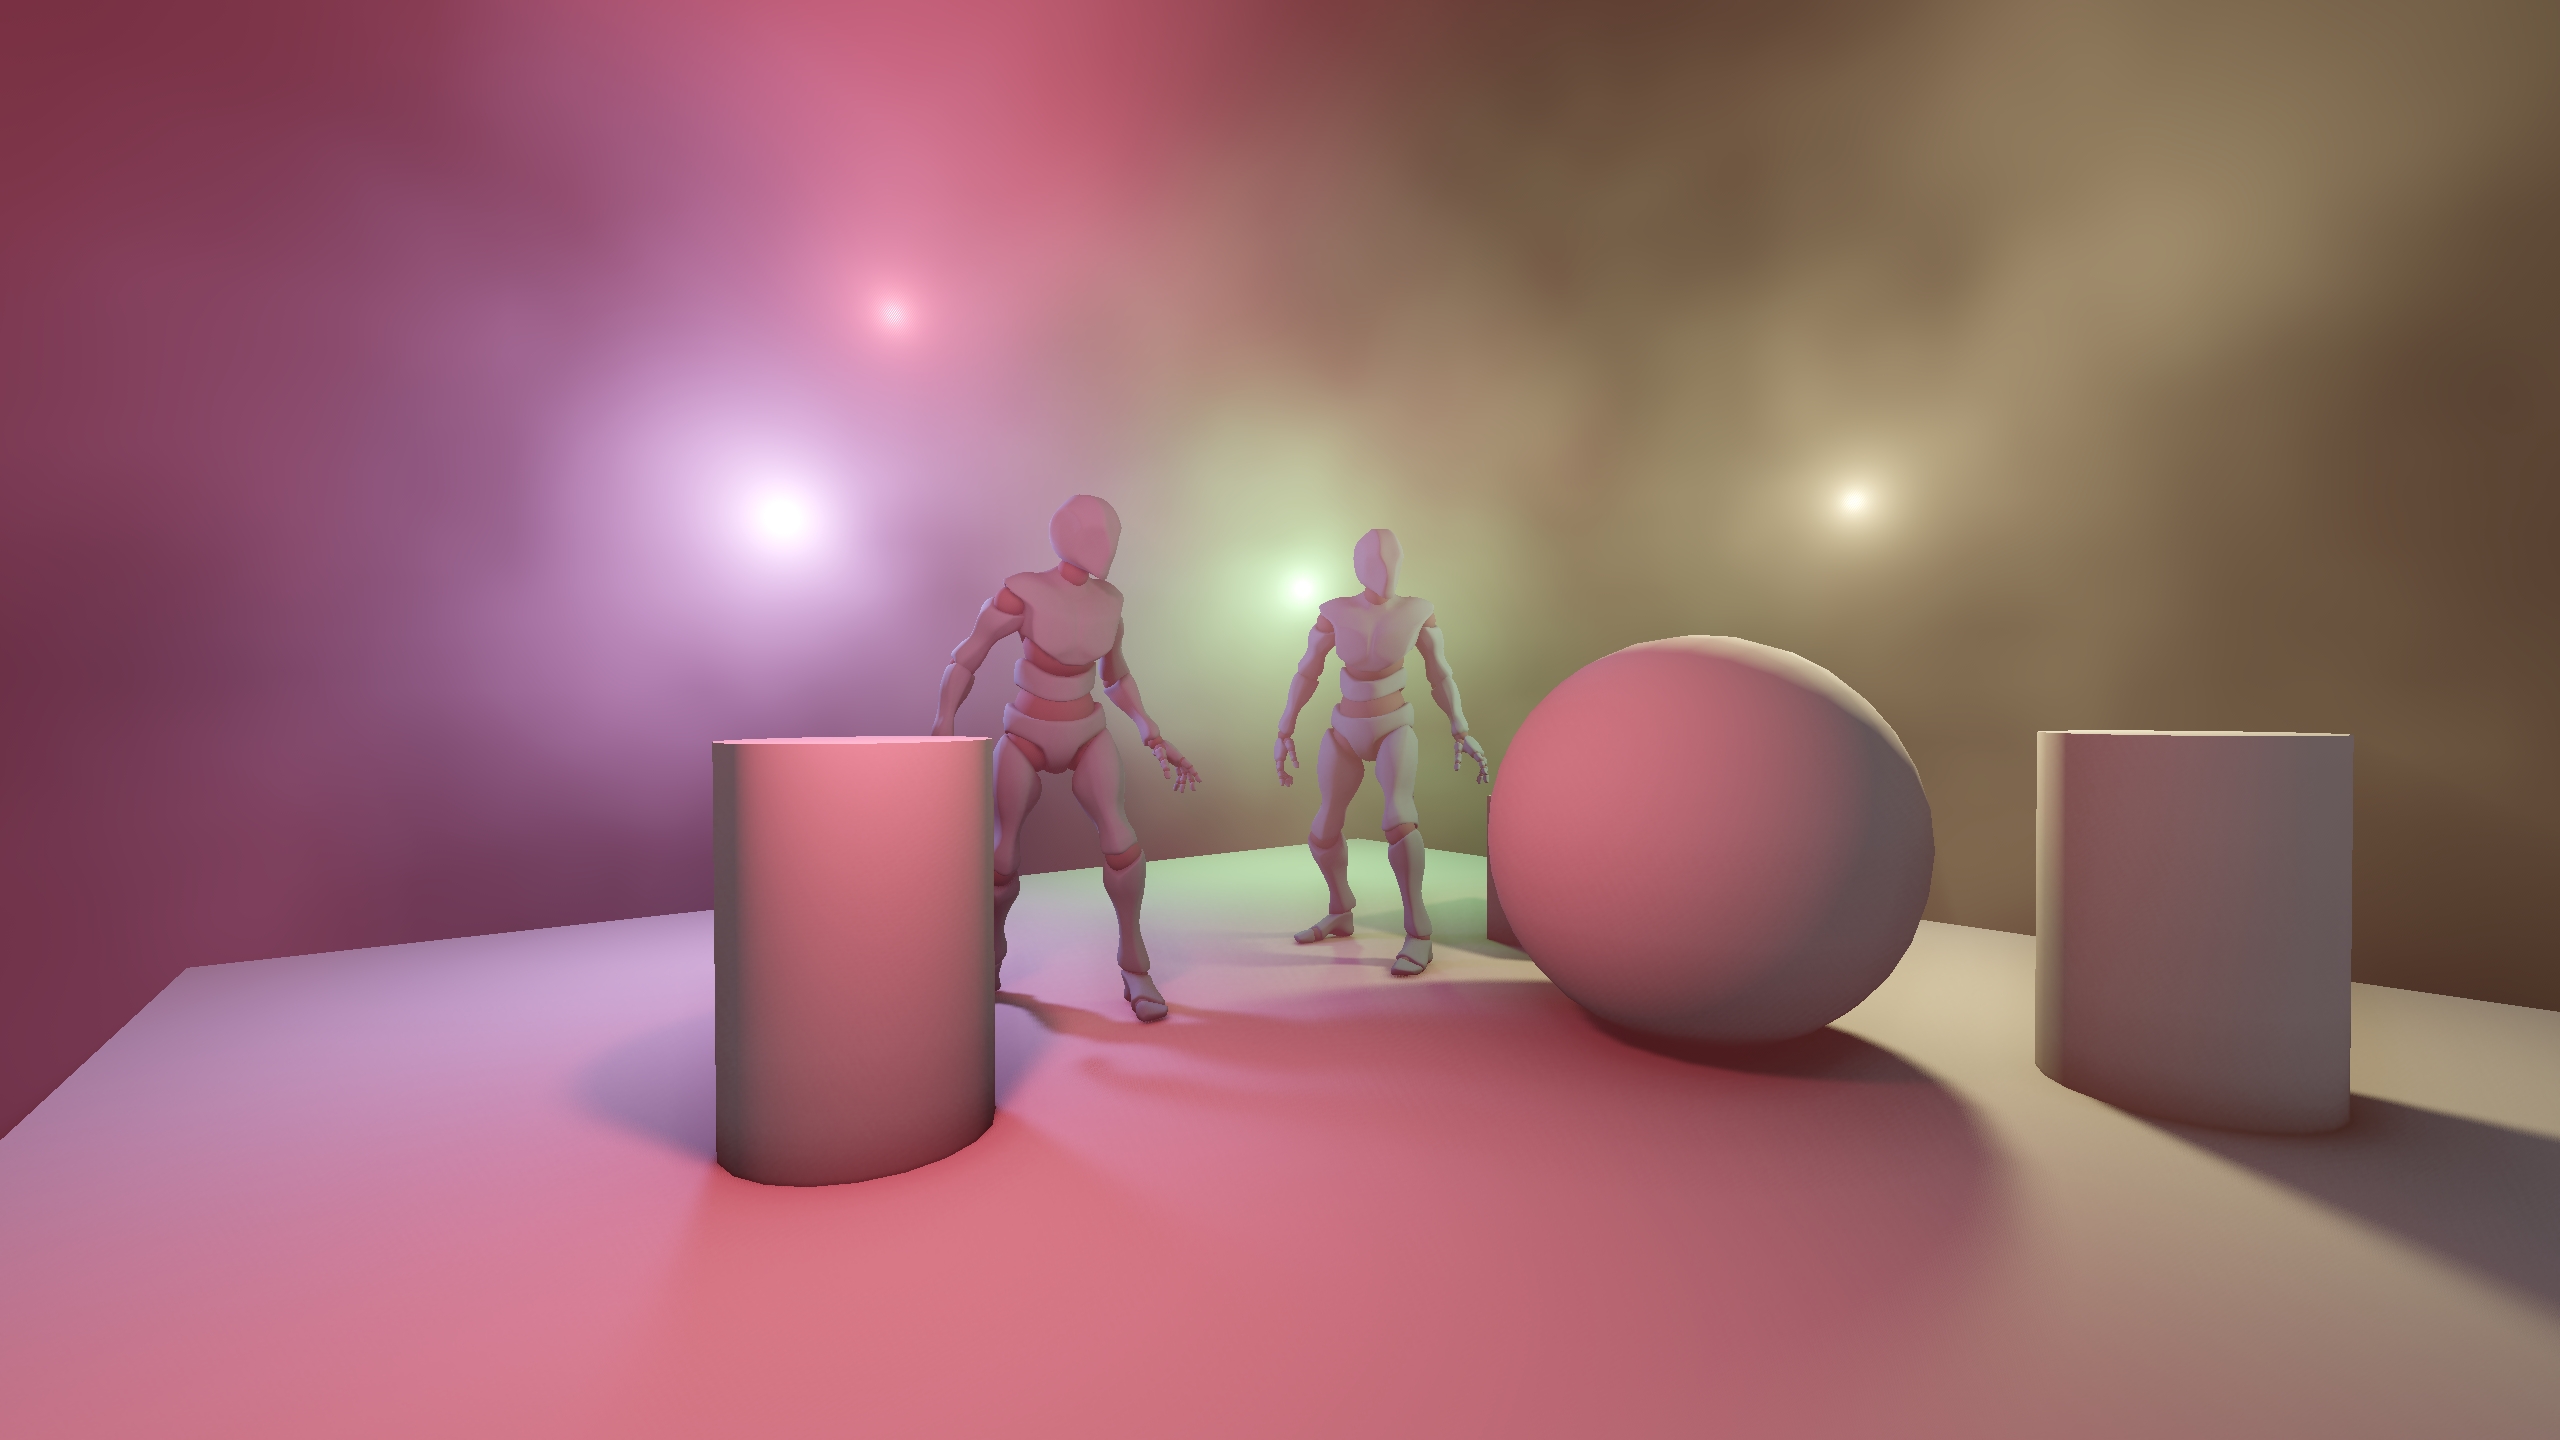
Up until now, we have rendered perfectly uniform volumetric lighting. However, as I explained at the beginning, what let's us see volumetric lighting are the countless particles suspended in the air. This means that the effect should see some variation over space and time. One simple but effetive way of simulating this is sampling a 3D noise texture at each ray point and let it modulate the contribution of the sample.
Therefore, a dust 3D texture is generated, and each light now has options to configure how it affects the volumetric effect:
- Direction: Controls how the texture scrolls over time.
- Scale: Controls how granular or sparse the result should be.
- Weight: How much the texture contributes to the final result.
In reality, just sampling a 3D texture wouldn't be enough because particles closer to the light can occlude particles that are further away. But computing that involves doing an additional raymarching search towards the light in each step along the original ray. That is how some realistic cloud shaders work, but it is very expensive and is not what the team aims for artistically.
Results
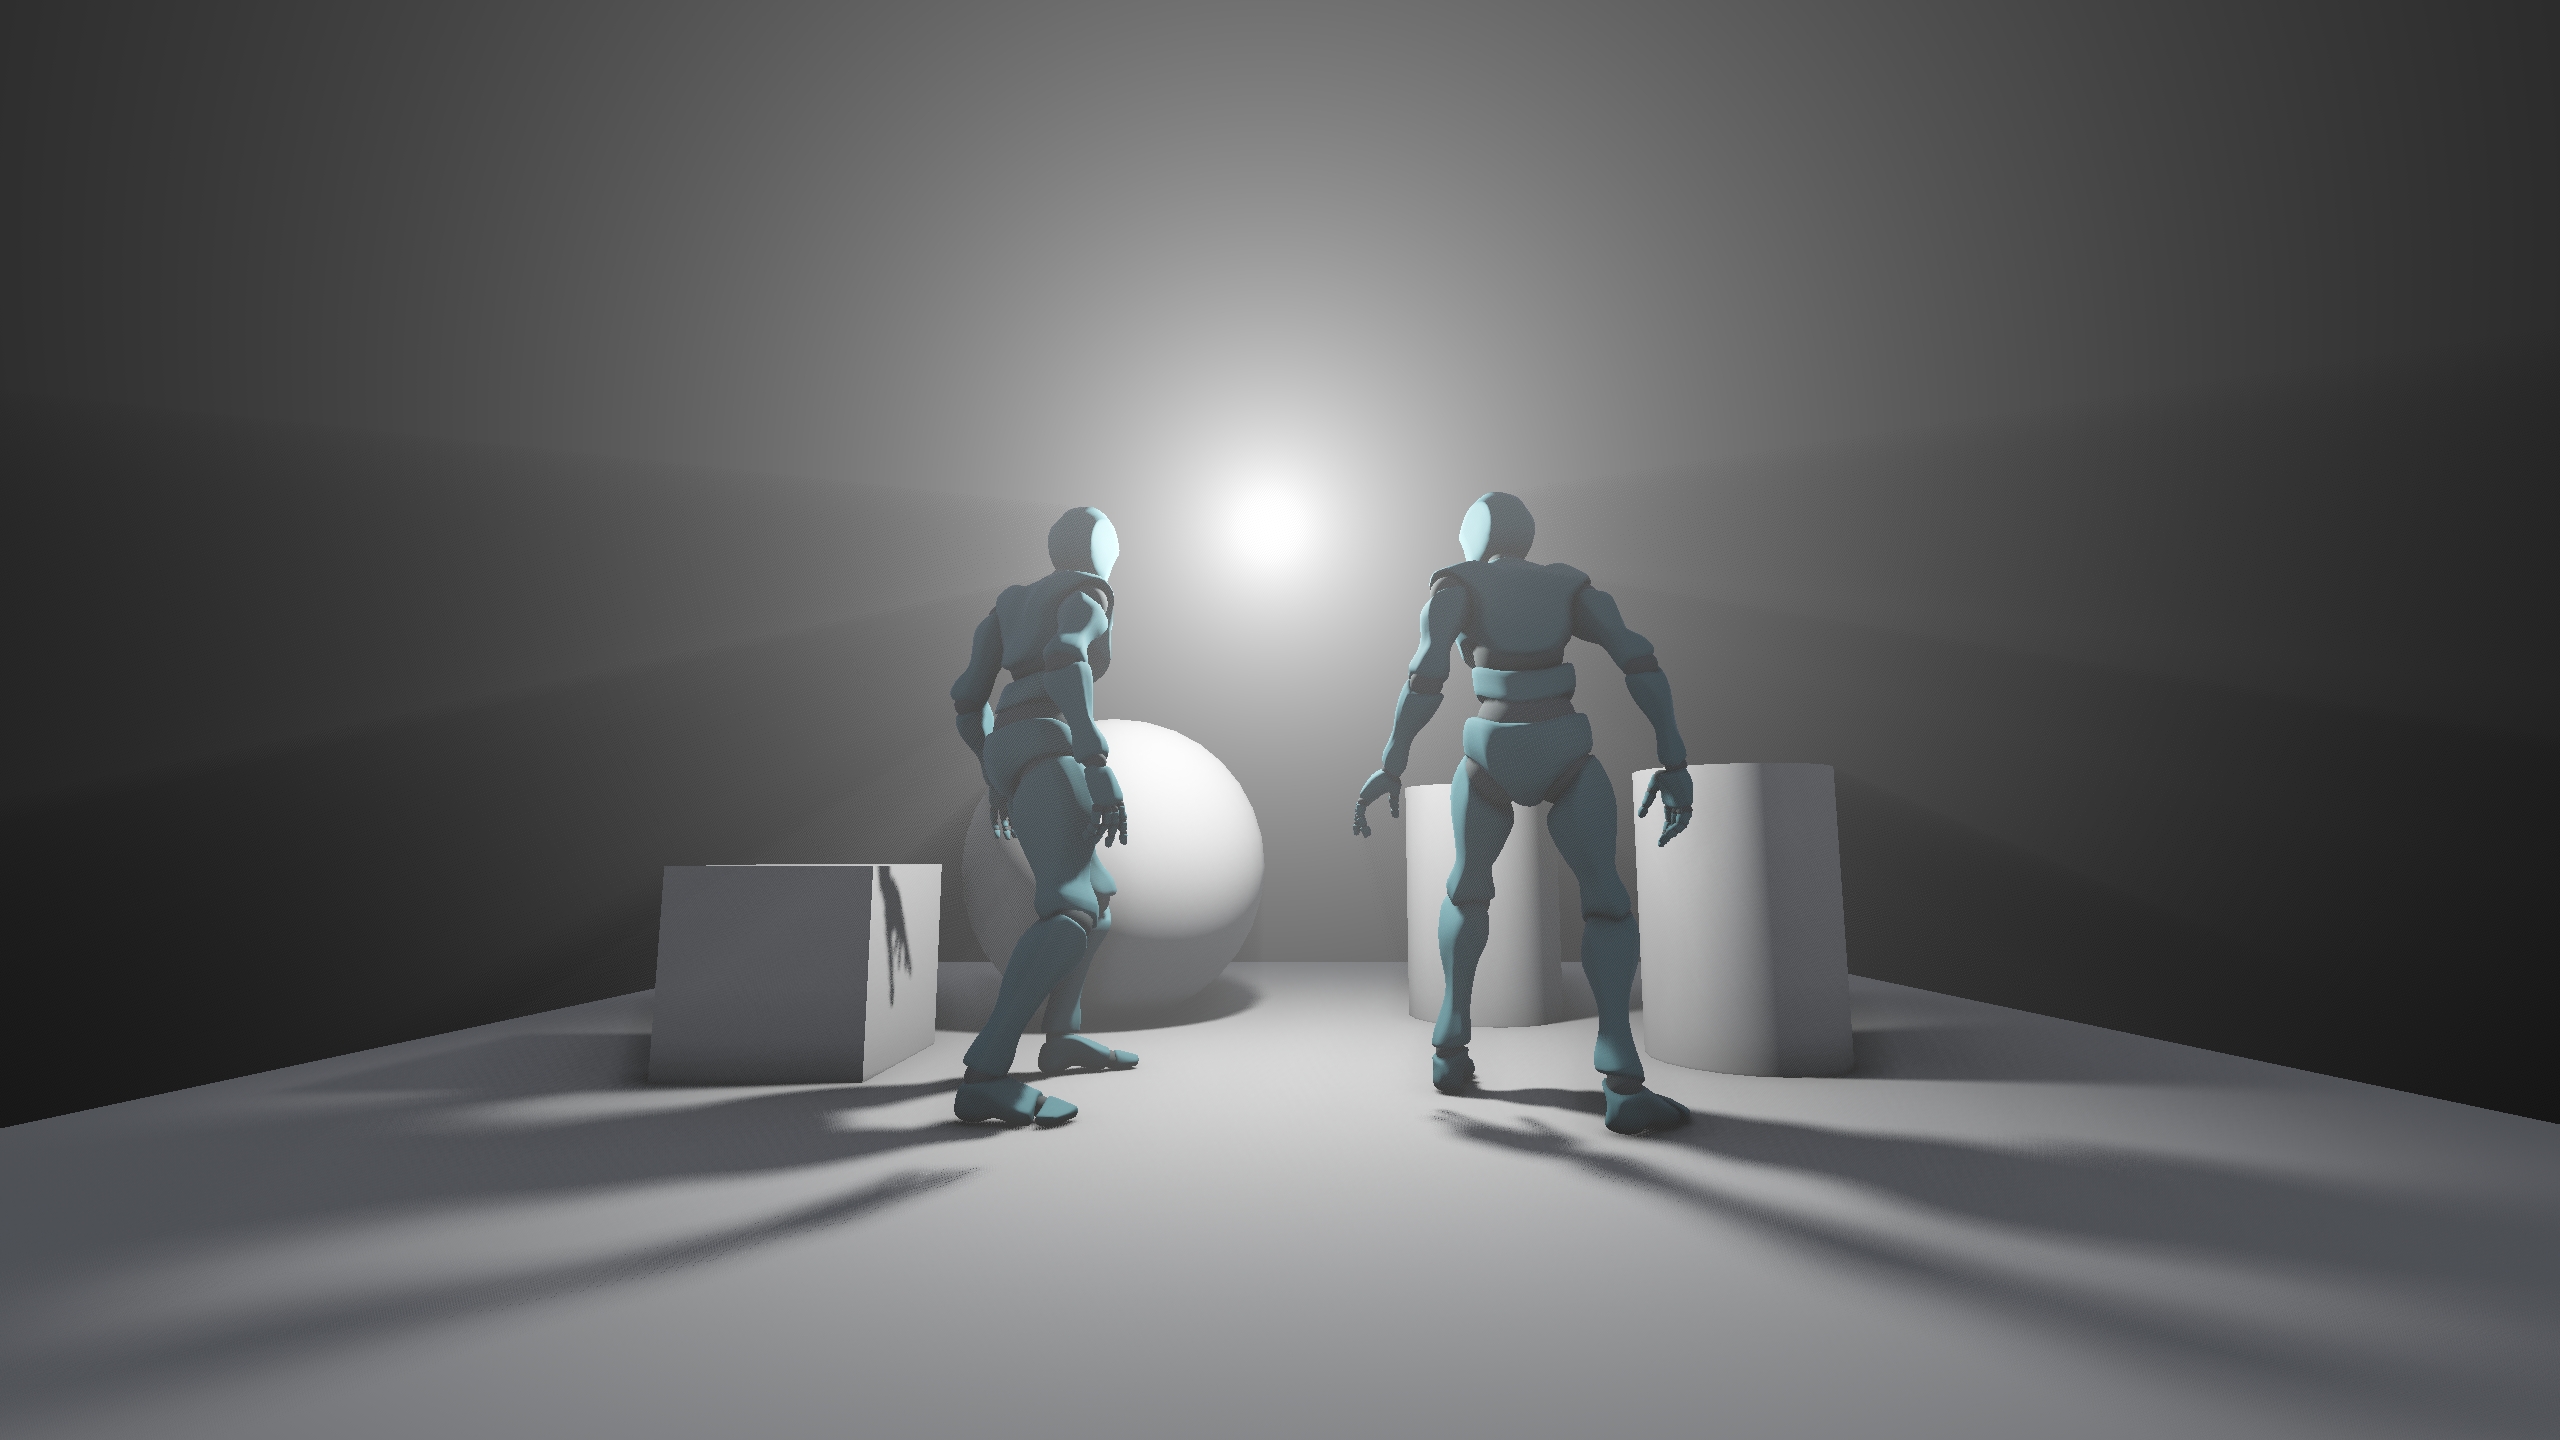
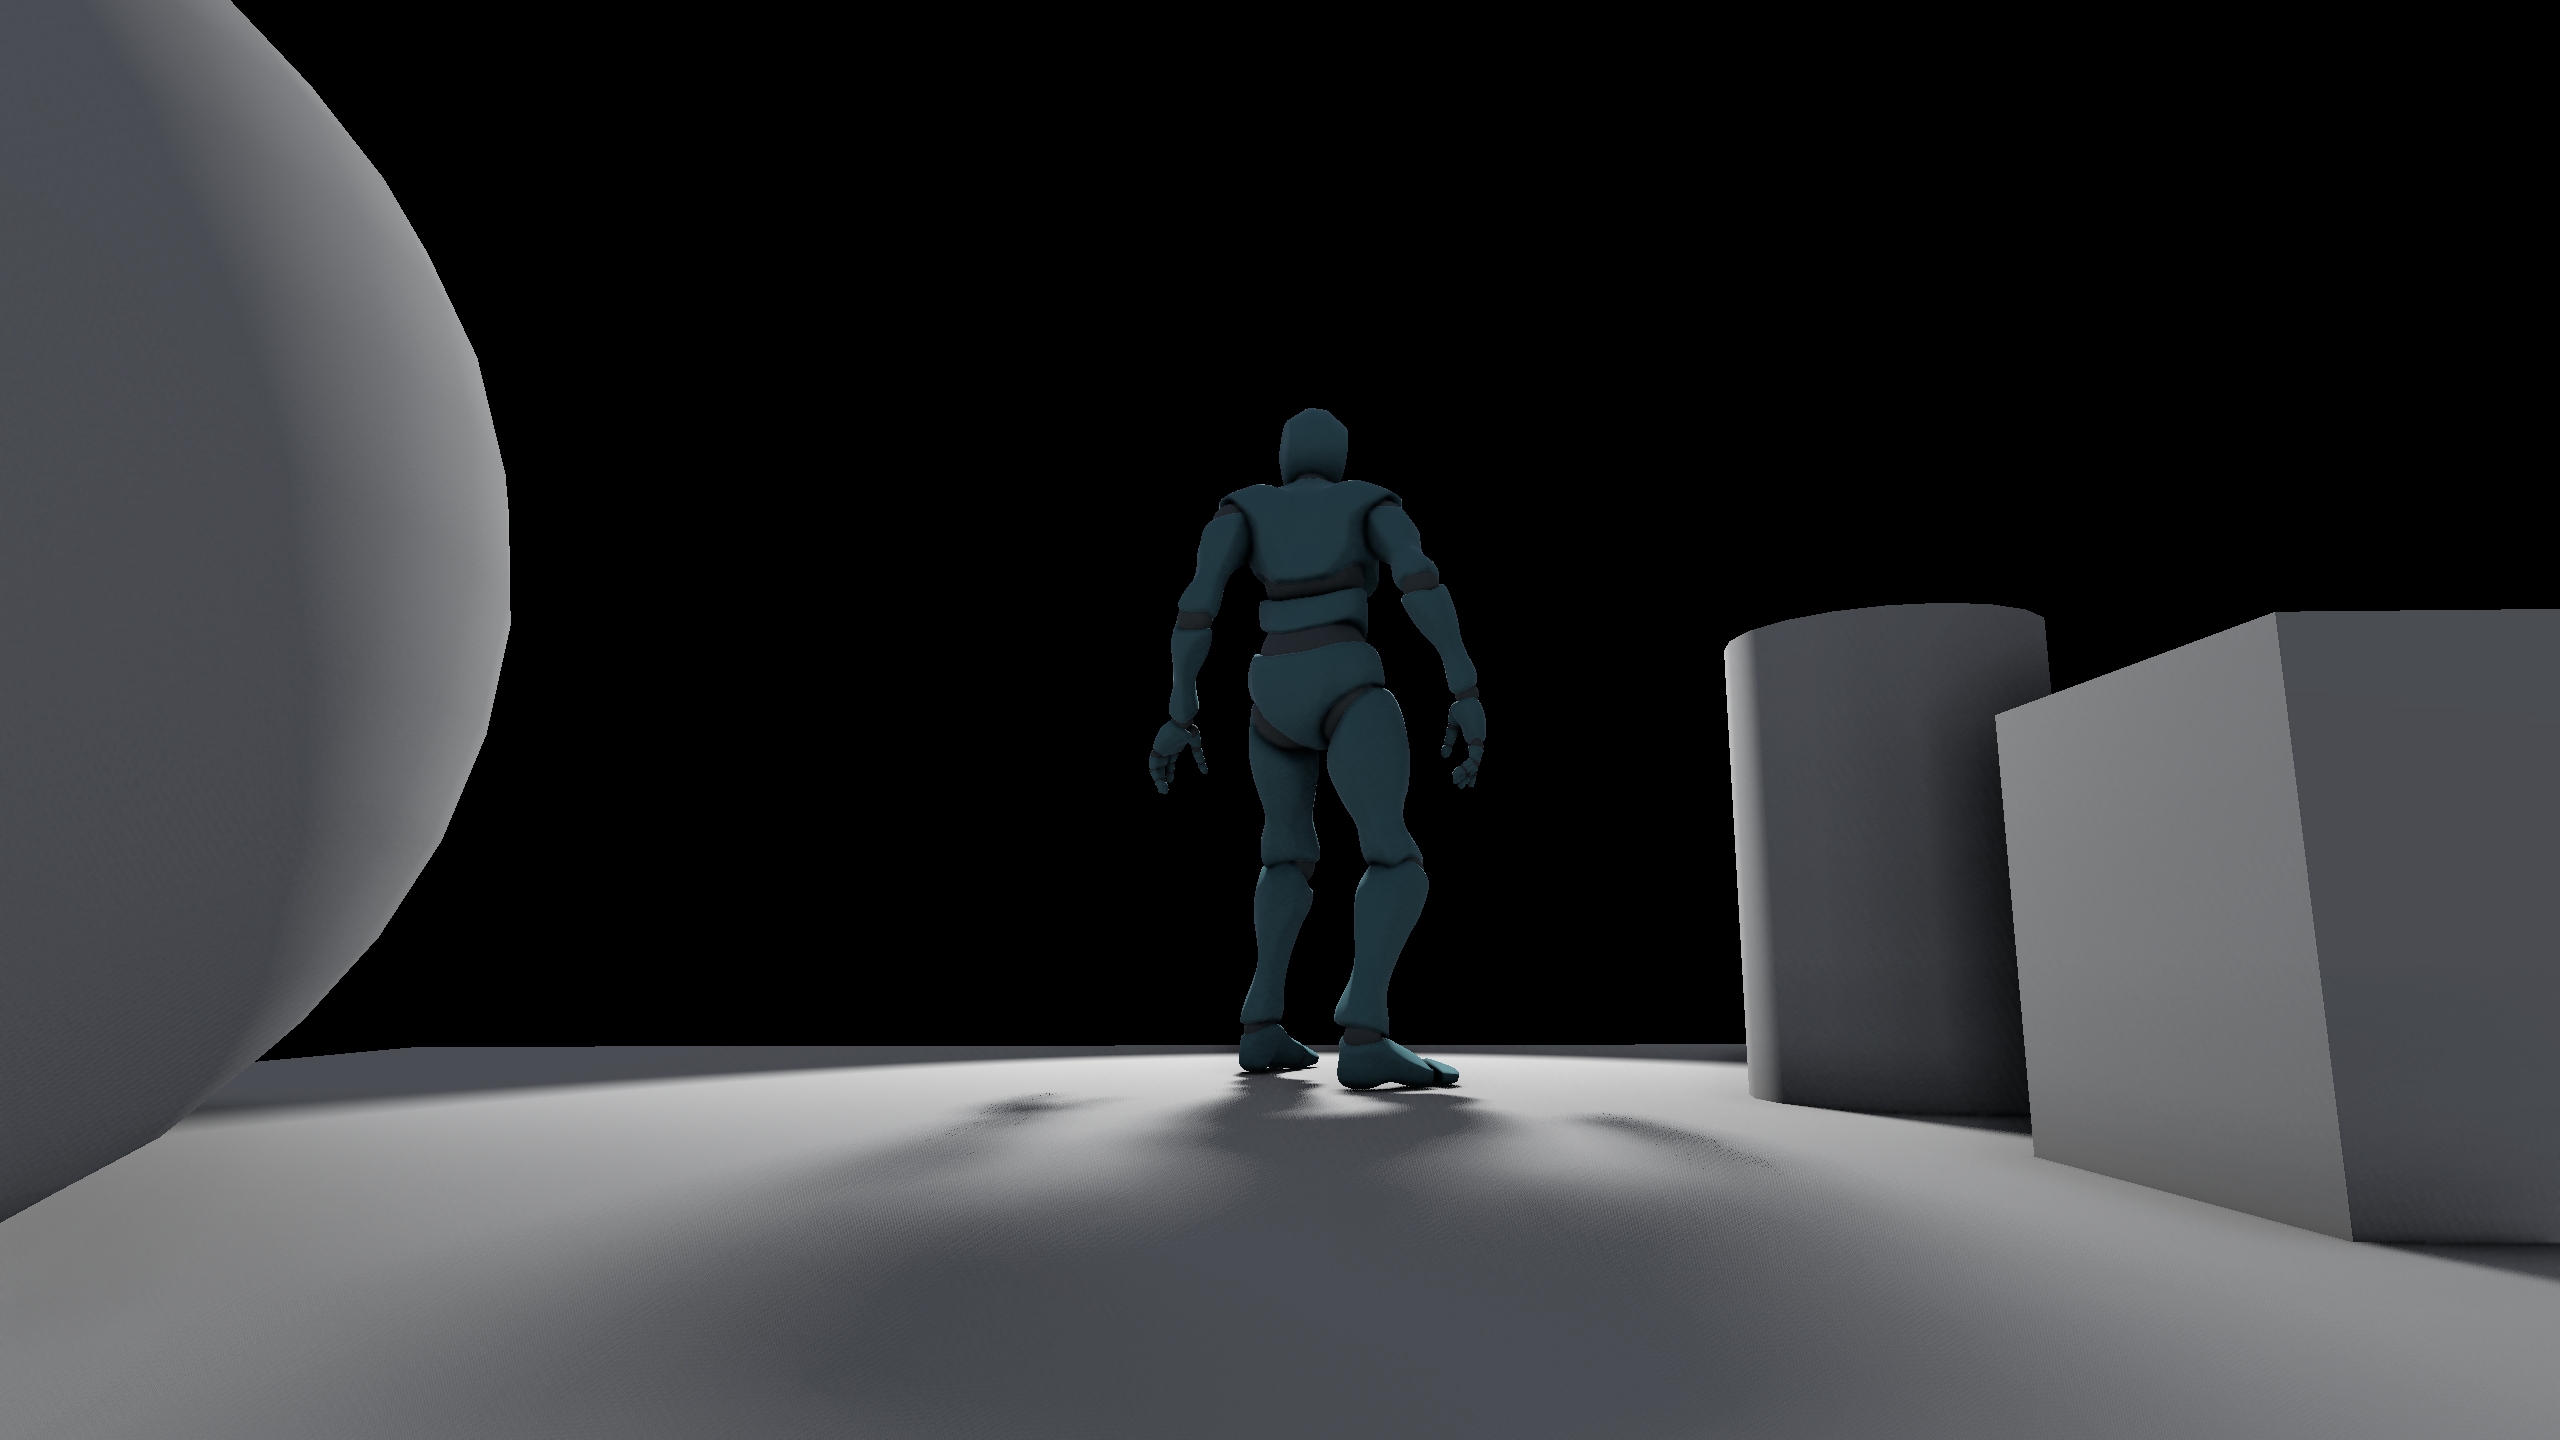
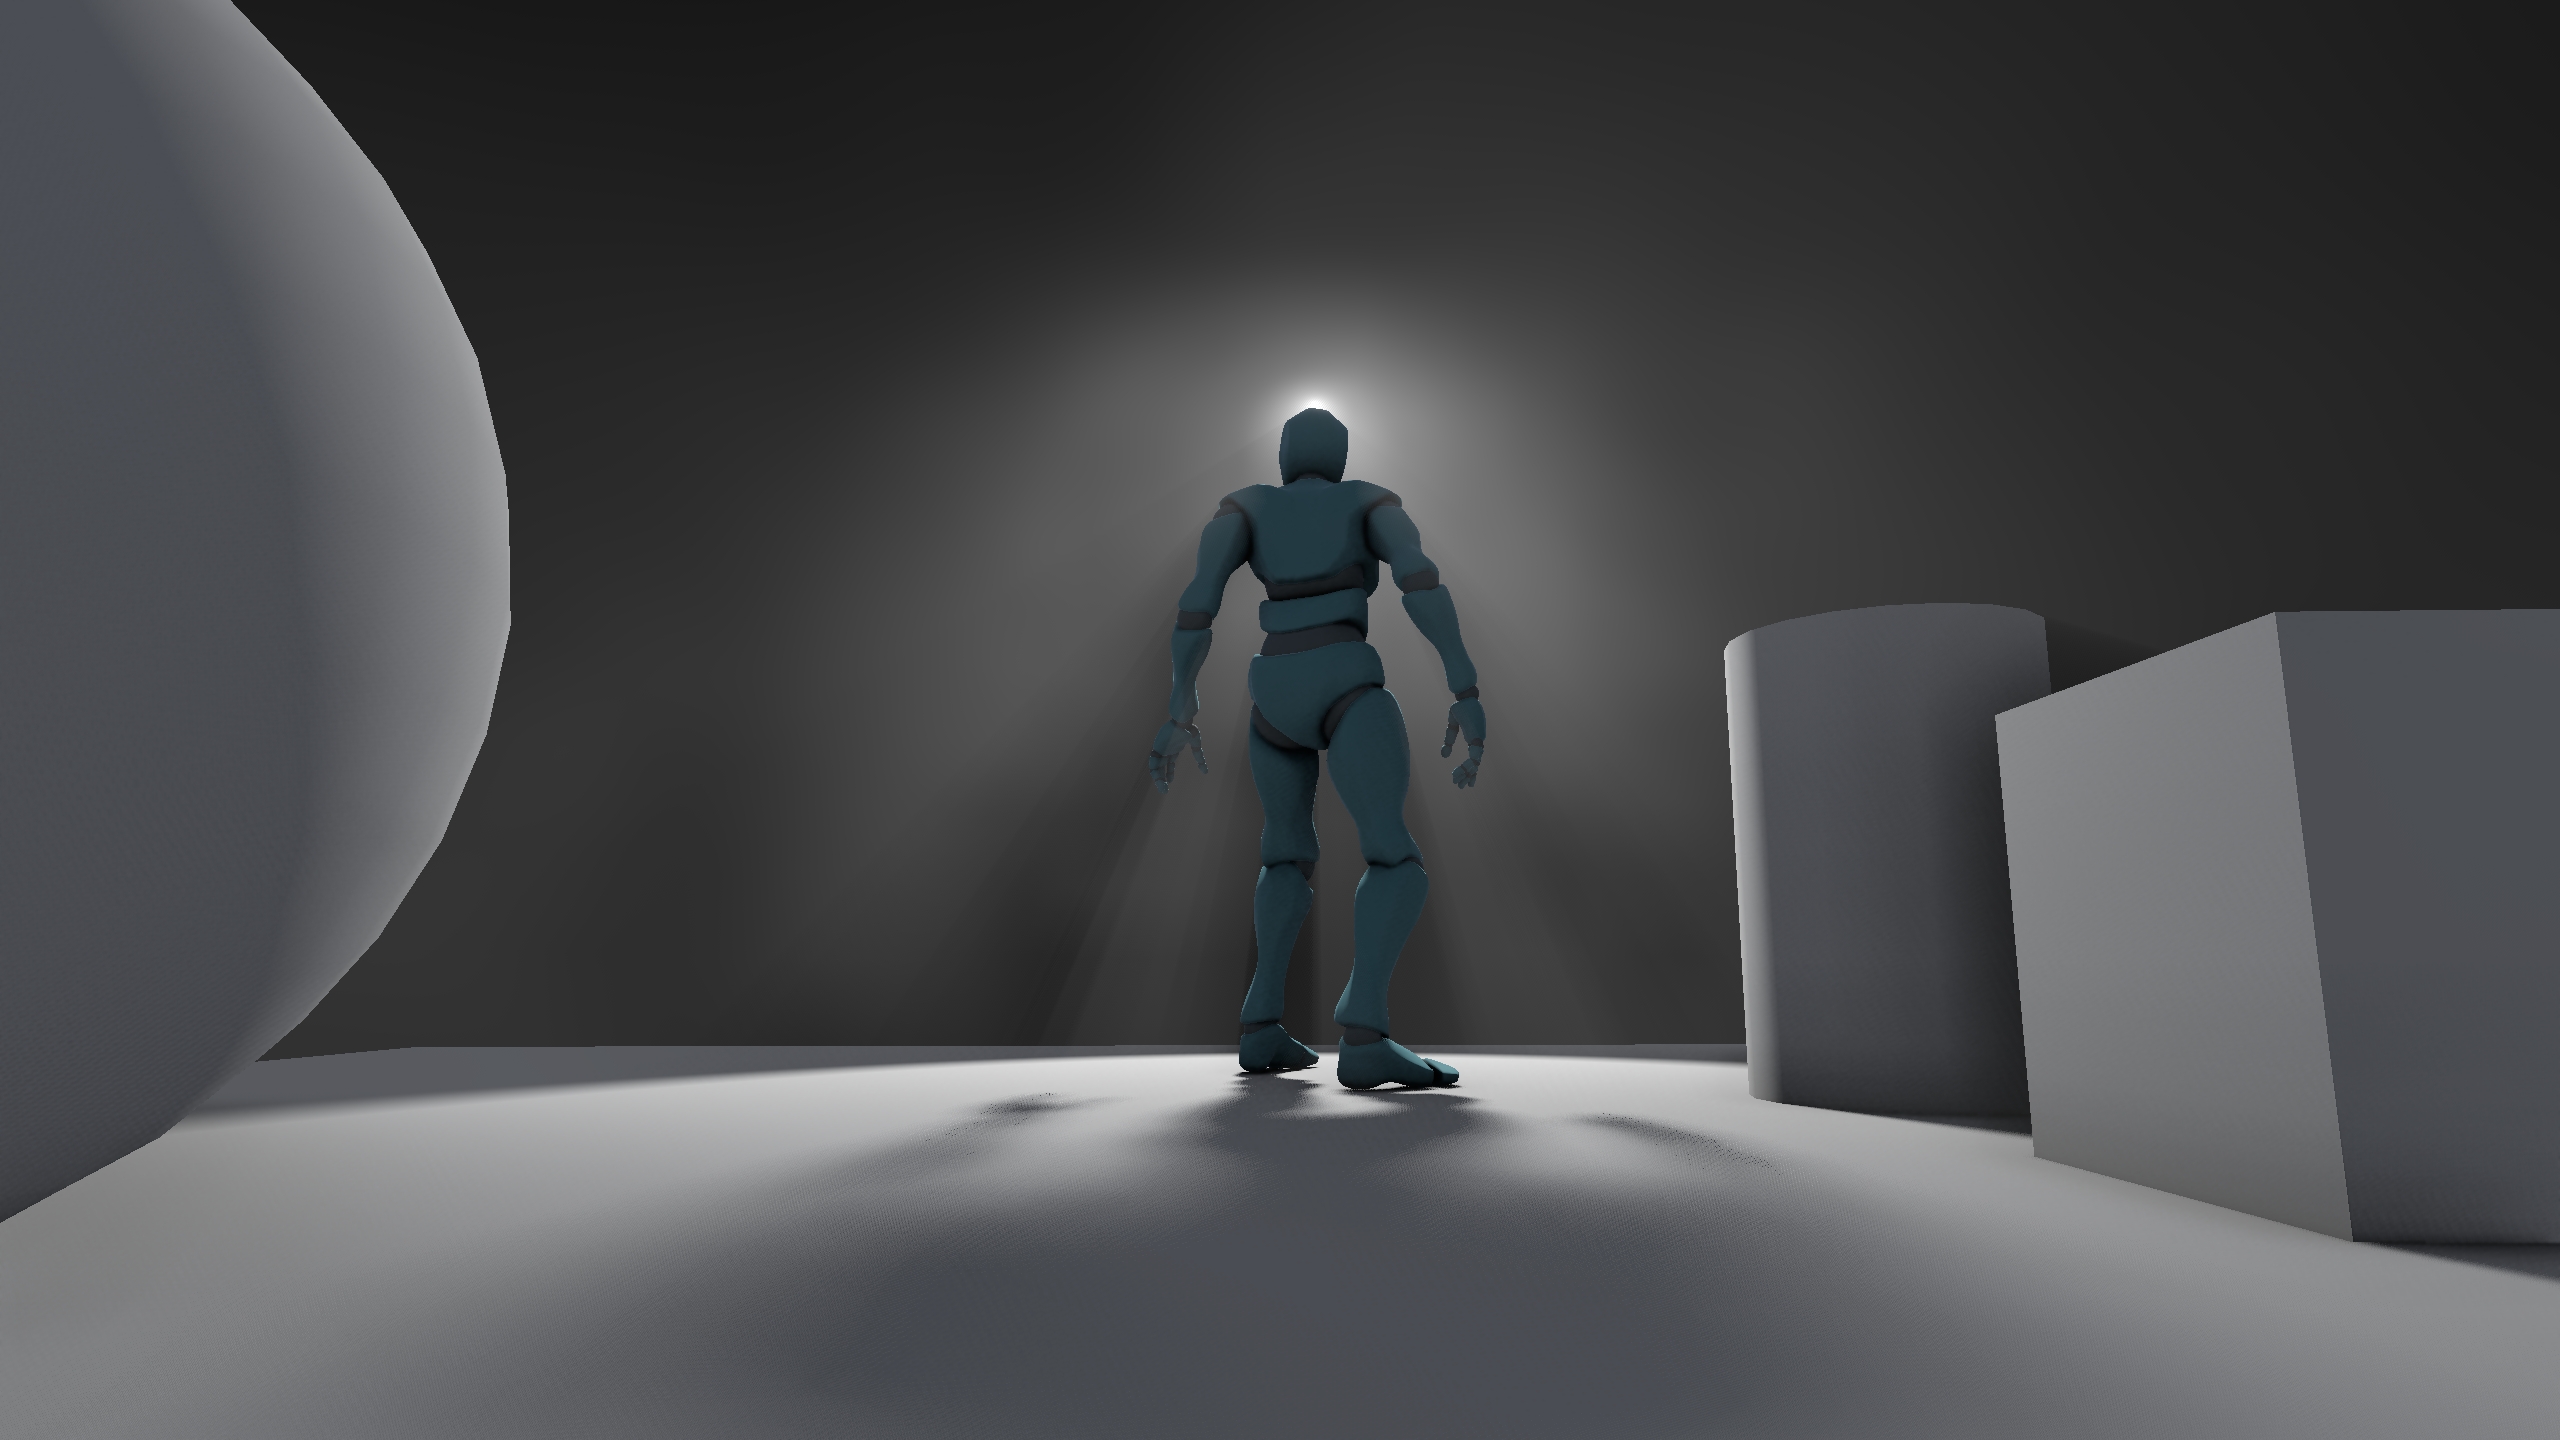
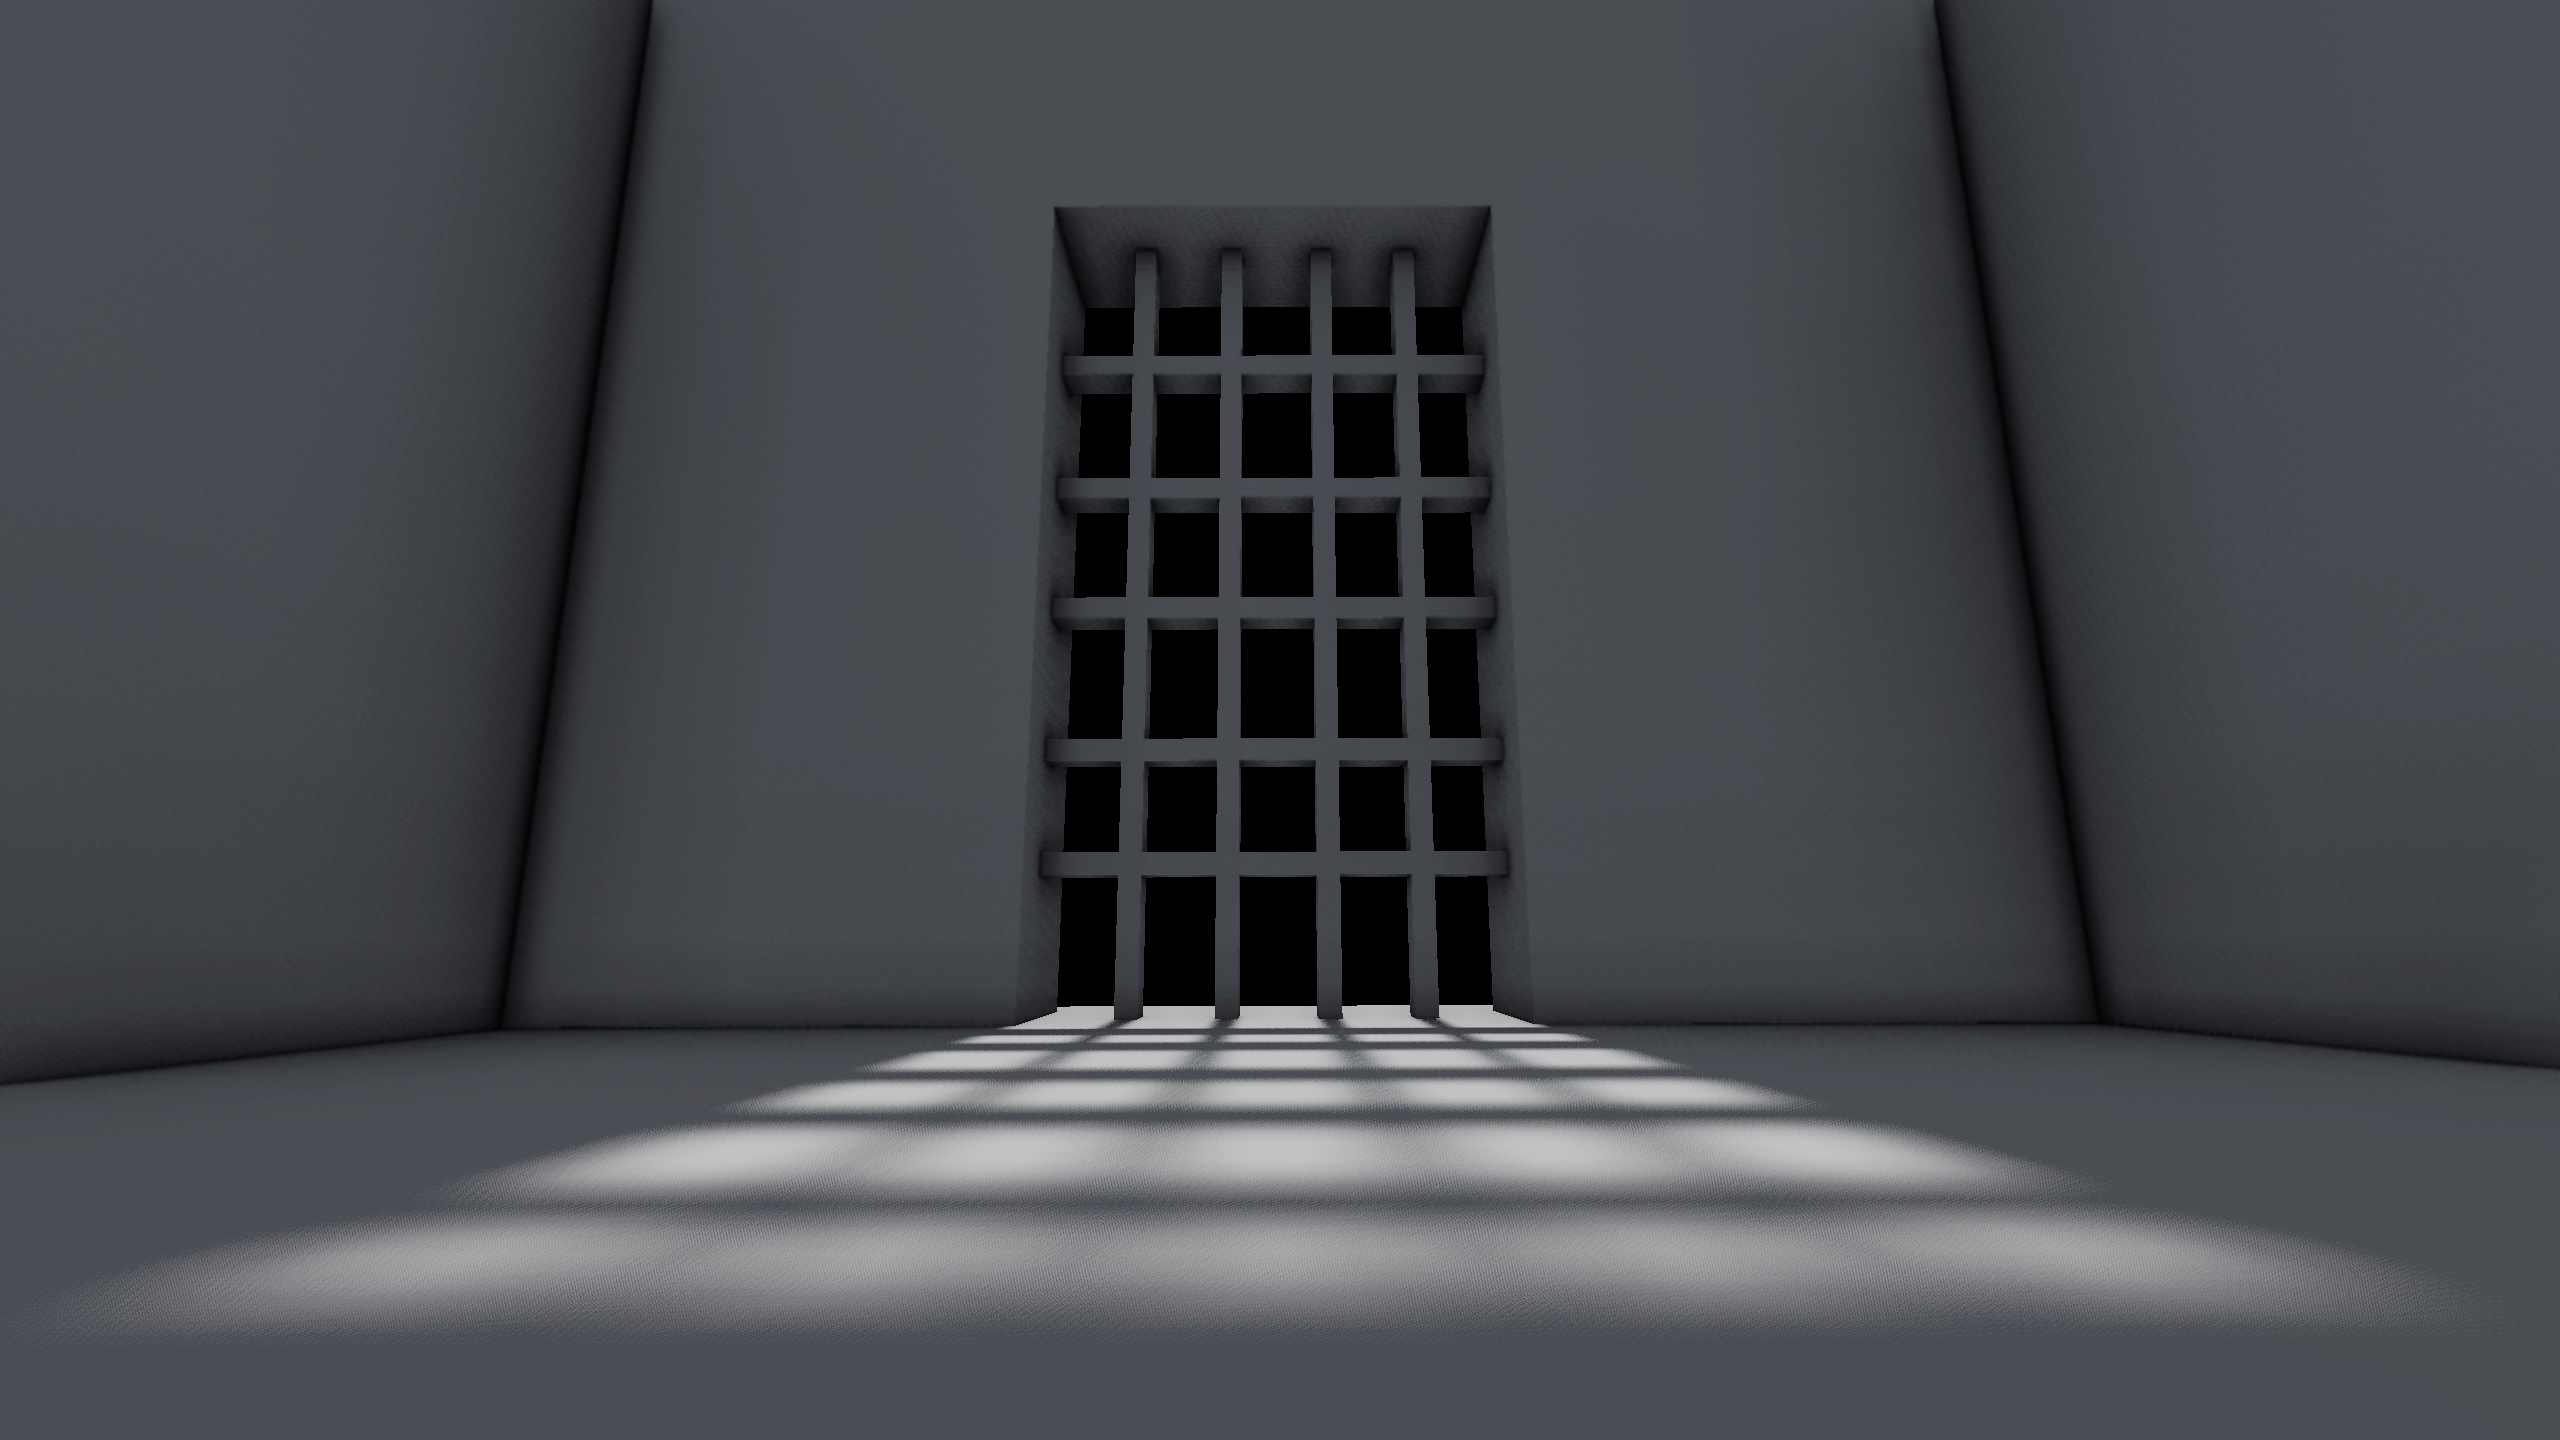
Conclusion
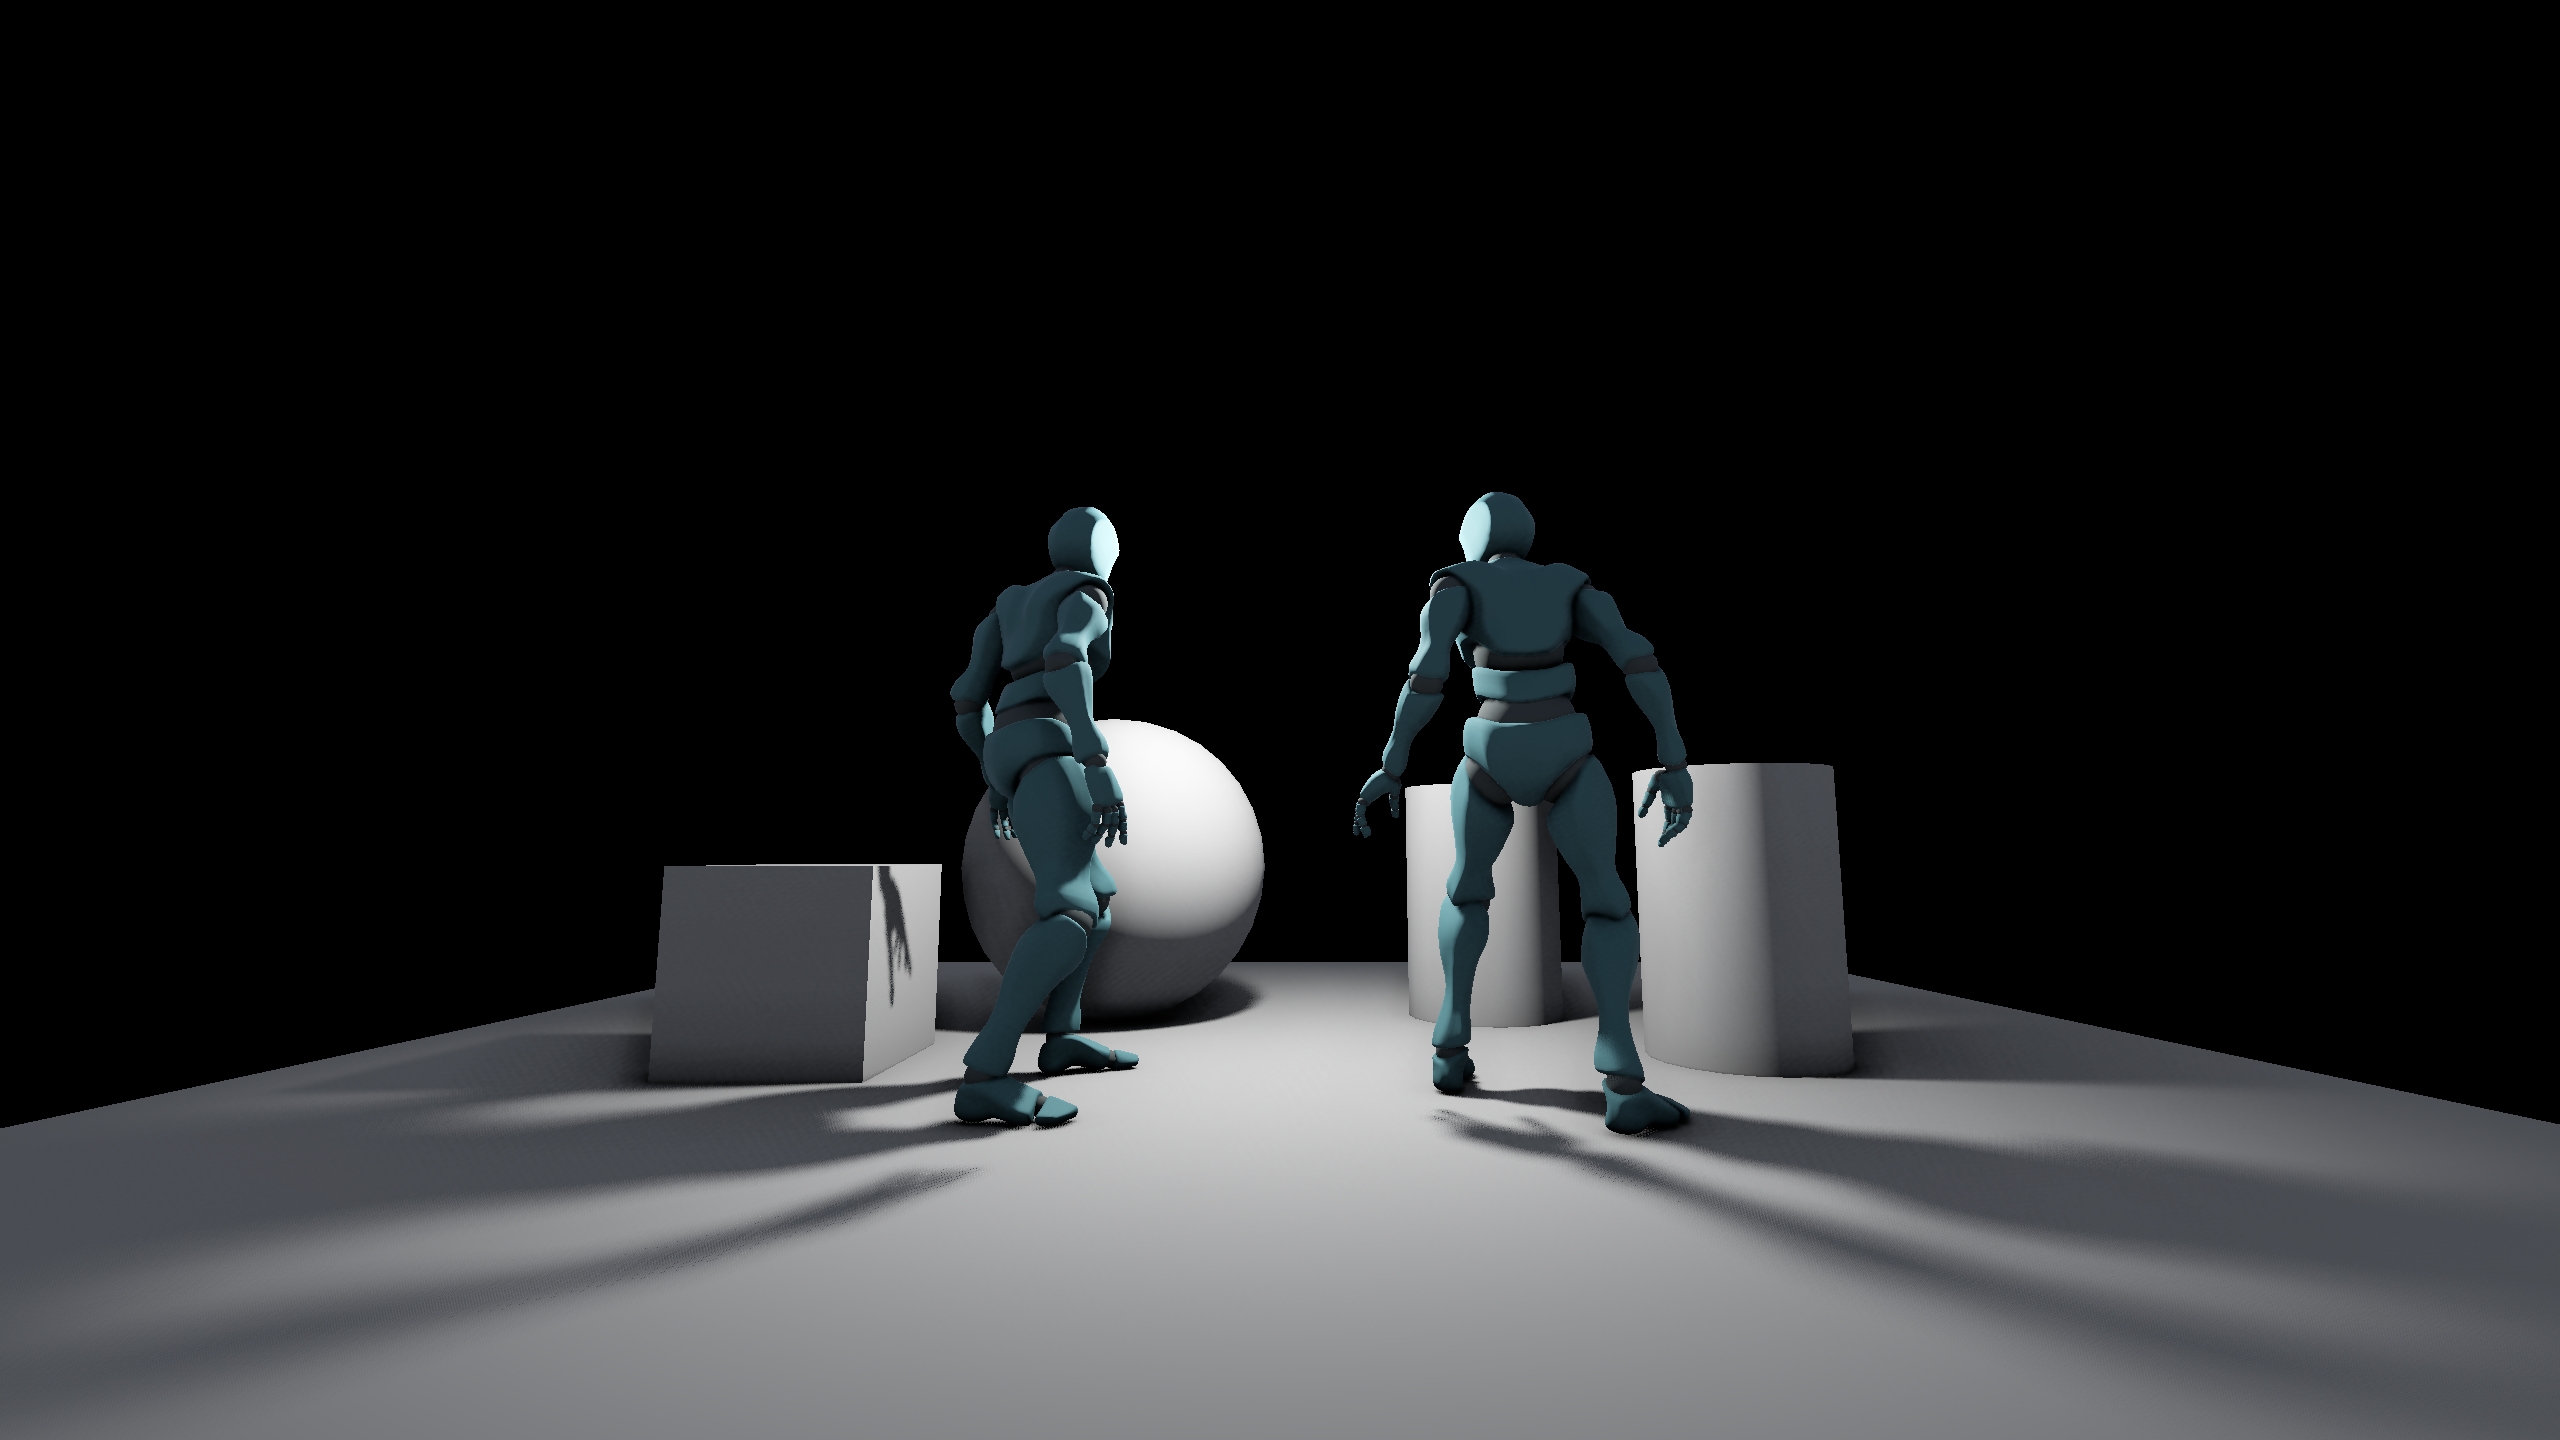
Volumetric lighting was a crucial missing puzzle in our rendering pipeline. Now, we can define how each light affects not only surfaces, but their whole area of influence. It is artistically driven, which is preferred for our needs and makes lighting a lot simpler to configure.
The current implementation presents a solid balance between fidelity and performance while covering the necessities of our game. Although it has some limitations, they're not likely to appear in the types of environments we're building. In contrast, this has improved the look of our indoors scenes quite a lot, enhancing the sense of scale and atmosphere. It's one of those features that, once seen, makes it hard to go back.
Going Forward
The one thing that bothers me about all of this is transparency order, specially for directional lights. I mentioned before that it is very expensive to render the volumetric contribution of each light for each transparent fragment, even though it would provide perfect results. However, sorting order is more or less solved for point and spot lights already. That opens the possibility of rendering the directional light's volumetric effect before transparents, and then execute a simplified version of it for each transparent fragment. It would use less ray samples and possibly skip the dust 3D texture as well.
Addittionally, I plan to add the option to render transparent objects at a lower resolution to improve performance on lower-end hardware, so volumetric effects would naturally be rendered a lot faster in that scenario.
Another limitation is that dust is currently configured per light, which works well for spot and point lights but is unrealistic for directional lights. In a scene where you can be indoors and outdoors, the sun's volumetric effect should be much stronger indoors. For that, we'd need to define some kind of dust volumes in the scene, and blend between them in each ray step. However, this is not necessary in the context of our game, so I just skipped it. But I'll look into it in the future if it becomes a necessity.
I would like to mention that nowadays a completely different approach is used to render volumetric lighting. It's based on froxel grids and was first introduced in Assassin's Creed 4. I'd like to explore that solution in the future as well, but for now what we have is more than sufficient, and was very fast to implement.